

Step by step
Every part of the guide with a picture of it. View in 3D shows that part in the viewer above.
Step 1The plan
1 part
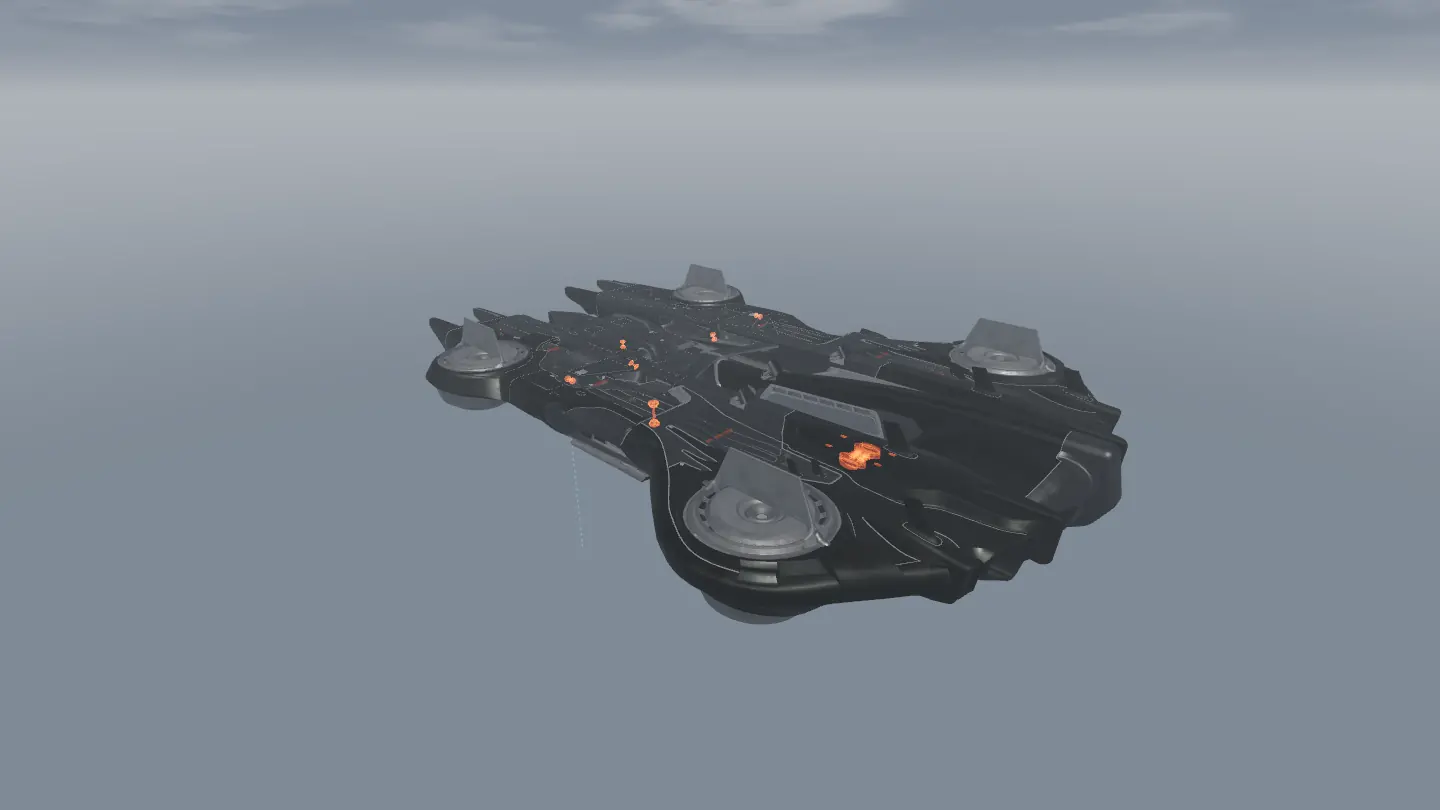
Part 1
Drop the cargo pod
The pod sits in a sealed cargo deck in the forward third of the ship. Take down five power cores and the central core to open the hull gate into it, unlock the four cargo latches, then work the ratchet to drop the pod.
- Raiders needed: Squad of 3
- Timing: Raid up to 36 min
- Timing: No joining after 6 min
Tip: Queue a map running the ARC Frigate condition (Blue Gate, Buried City, Dam Battlegrounds, Pendola Pass, Spaceport). Several steps need 2 or 3 raiders at once.
Step 2Board the Frigate
2 parts
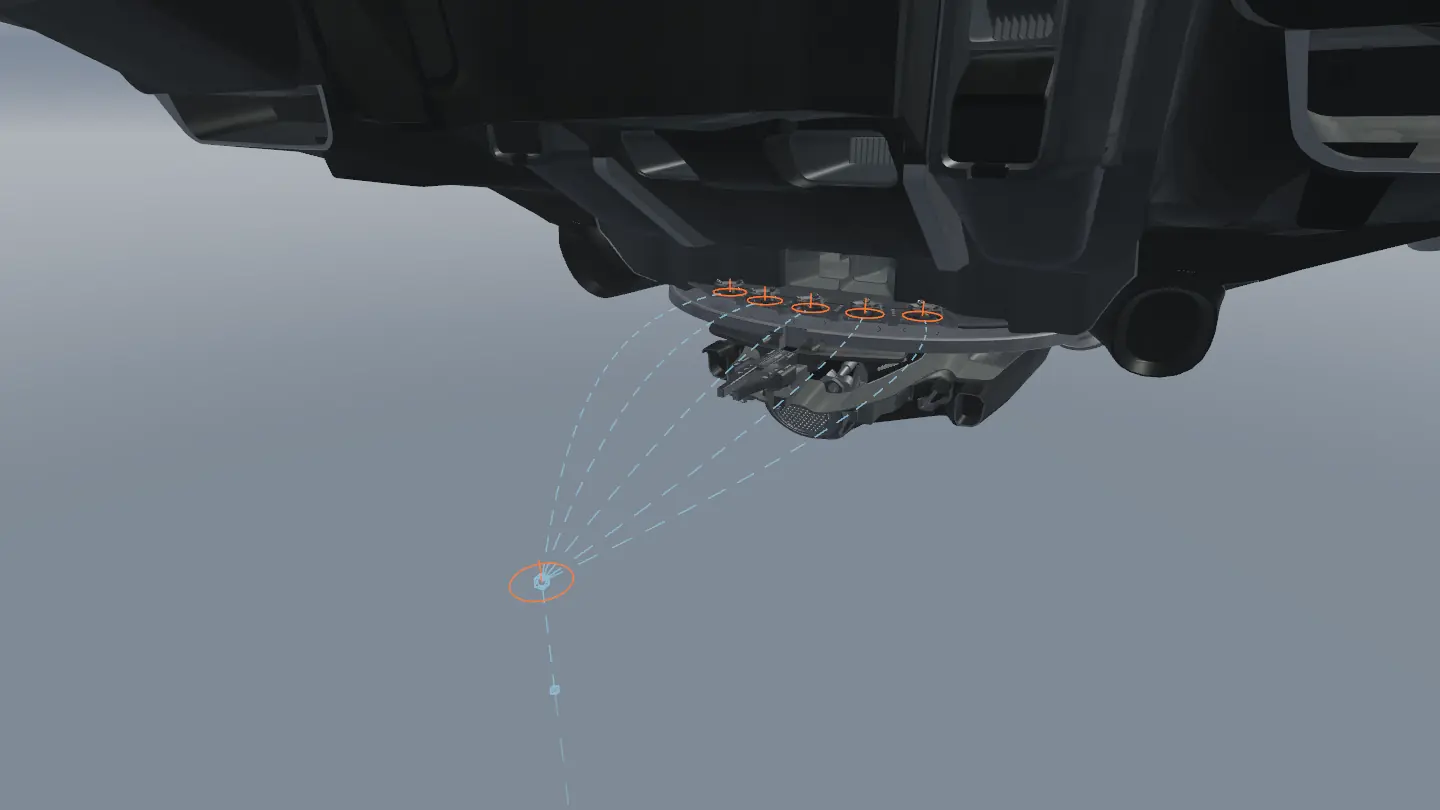
Part 1
Ride a Reclaimer up
ARC Reclaimers dock under the stern. Step on one while it is low and hold "Disrupt" to ride it up to the ship. A Grappling Hook or Snap Hook also gets you on.
- In-game prompt: DisruptHold 3 s
- Raiders needed: 1+ raiders
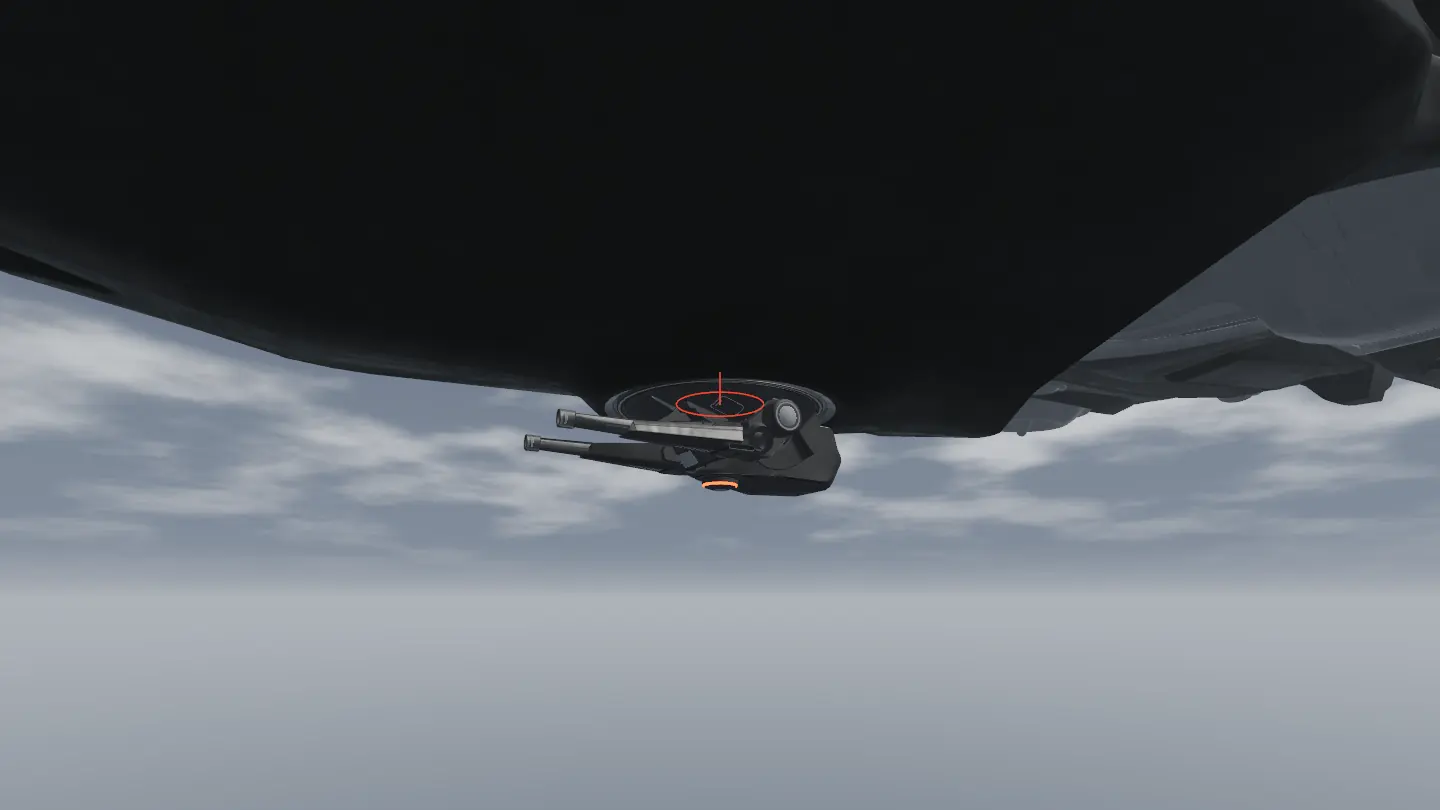
Part 2
Stay clear of the cannon
The Frigate Cannon under the hull shells the densest group of raiders 100 to 200 m away. It is indestructible: do not linger in the open below the ship.
Step 3Get inside
3 parts
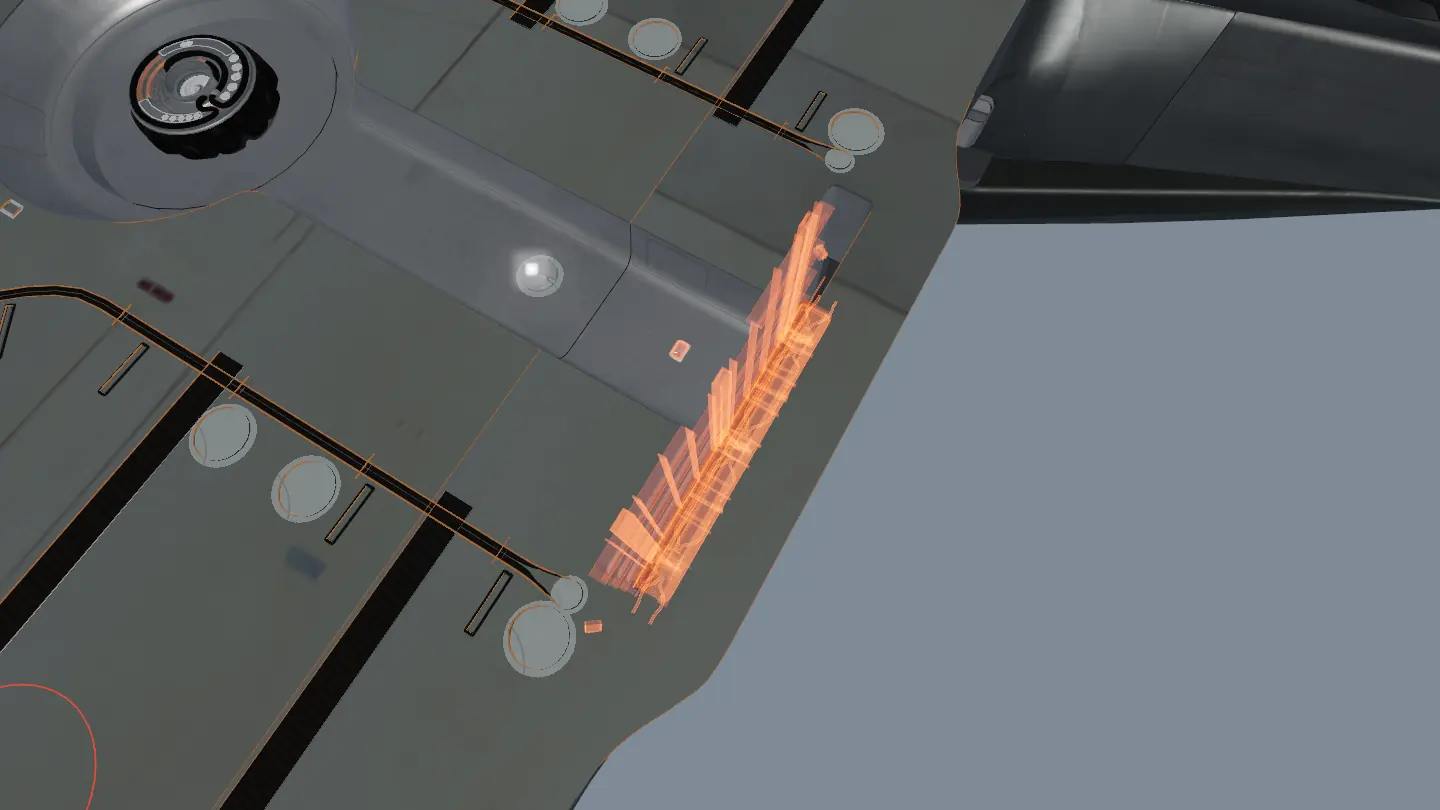
Part 1
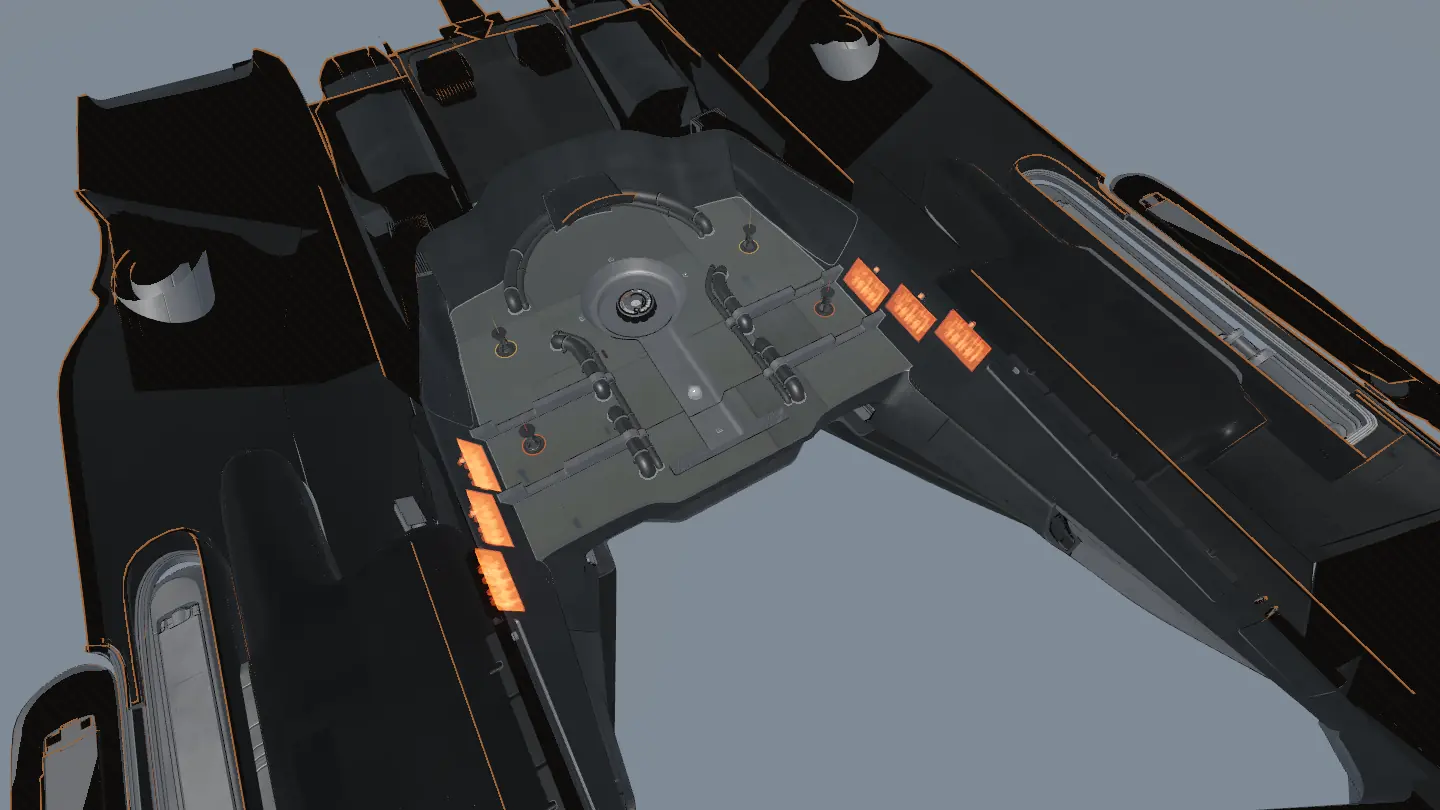
Take the lift
Two raiders hold "Move Up" on the lift's two side controls at the same time. Once up, one raider can bring the others with the solo control at the top.
- In-game prompt: Move Up
- Raiders needed: 2 raiders
Part 2
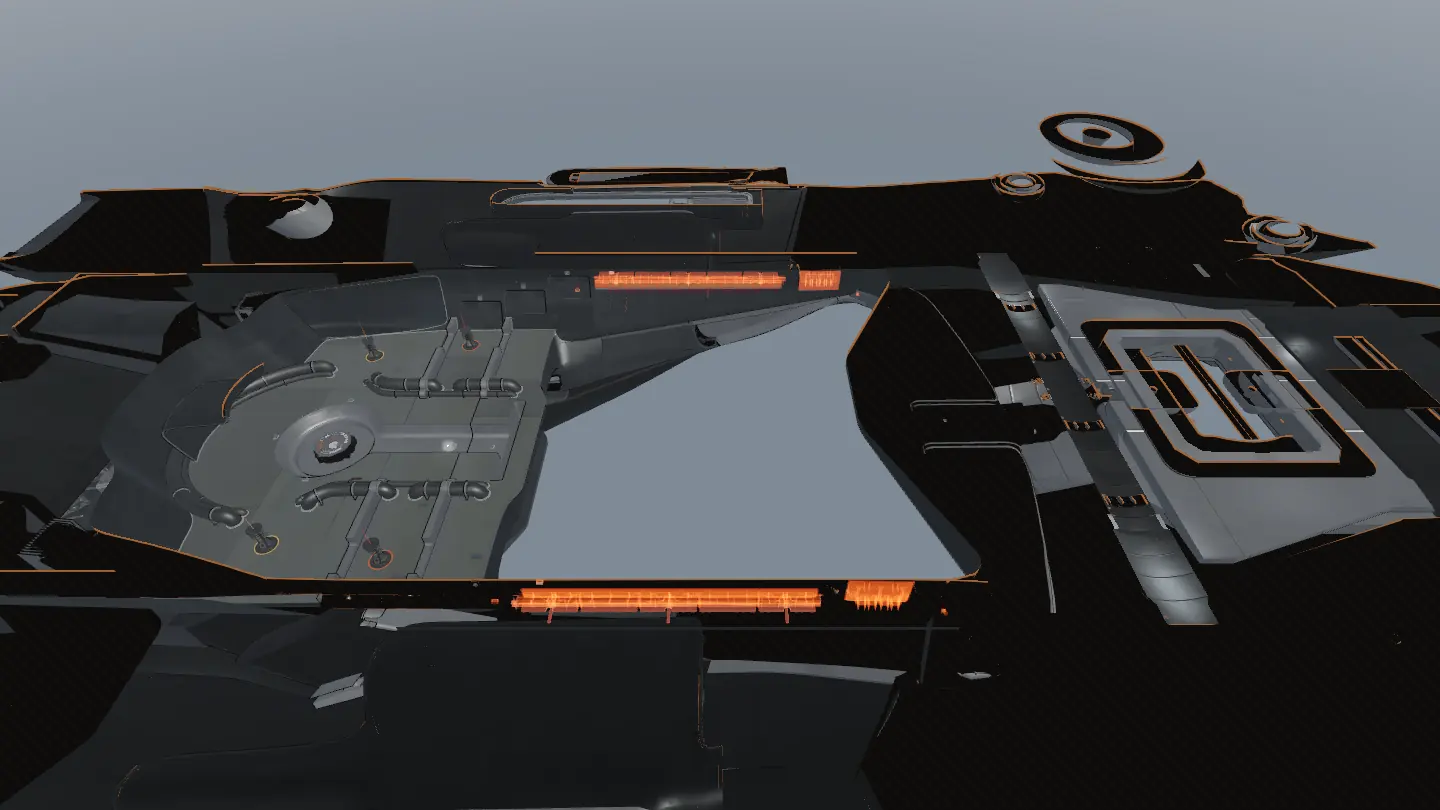
Break the panels
6 breakable panels block the way between rooms. Each one falls when you shoot its single weak point.
Part 3
Swing out the side bridges
Hold "Move Out", then "Lock In Place" on a side bridge. Locking it reveals a hidden weak point that opens the panel behind it.
- In-game prompt: Move Out
- In-game prompt: Lock In PlaceHold 3 s
Step 4Power cores
5 parts
Part 1
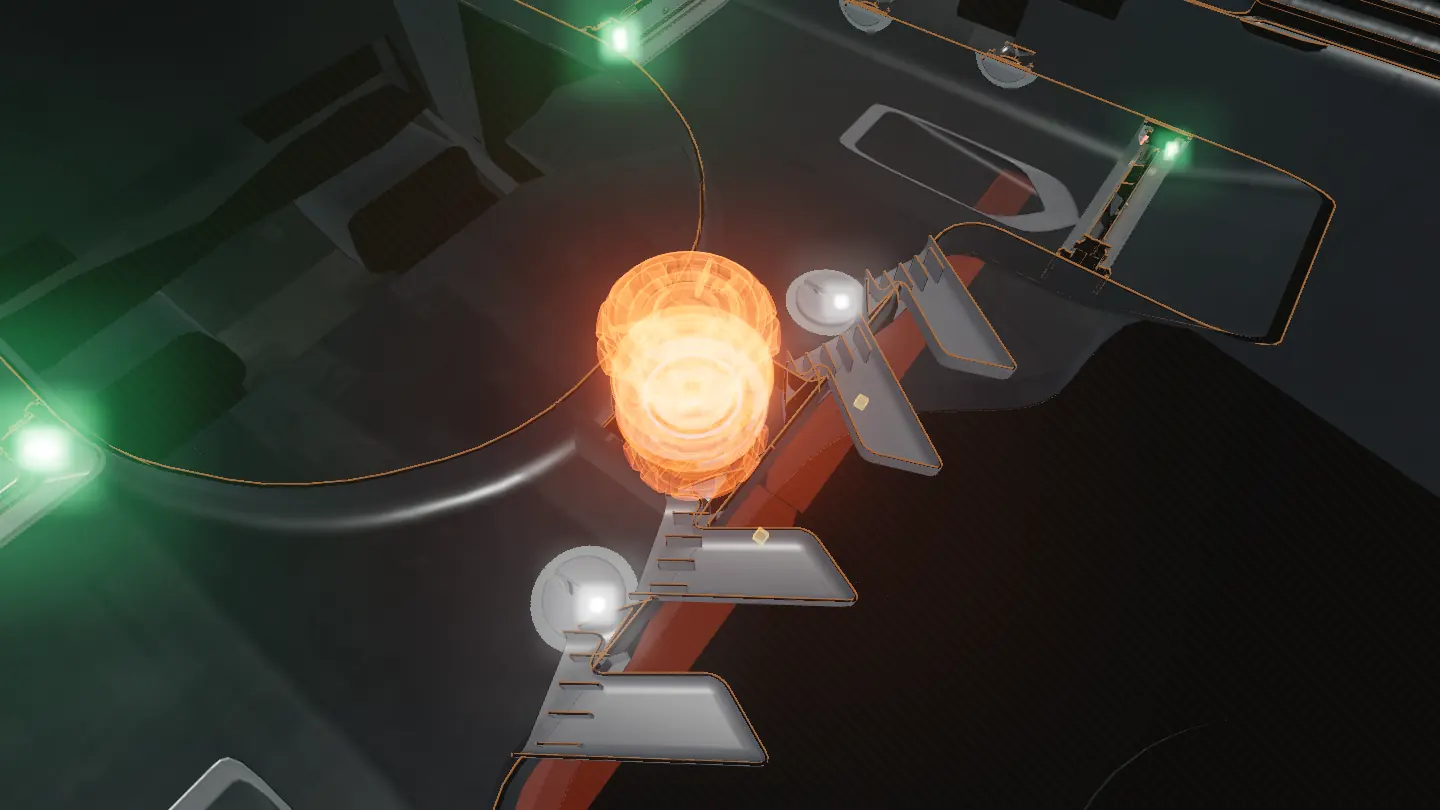
Core 1 of 5: Fire room core
Shoot the 2 shields on its rotating ring (850 health each). You can also hold "Breach Power Core" on a shield; taking damage interrupts you. It sits between the two fire rooms: each shield you break switches one room's fire off.
- In-game prompt: Breach Power CoreHold 5 s
- Raiders needed: 1+ raiders
Tip: The five cores can be done in any order, and by different raiders at once.
Part 2
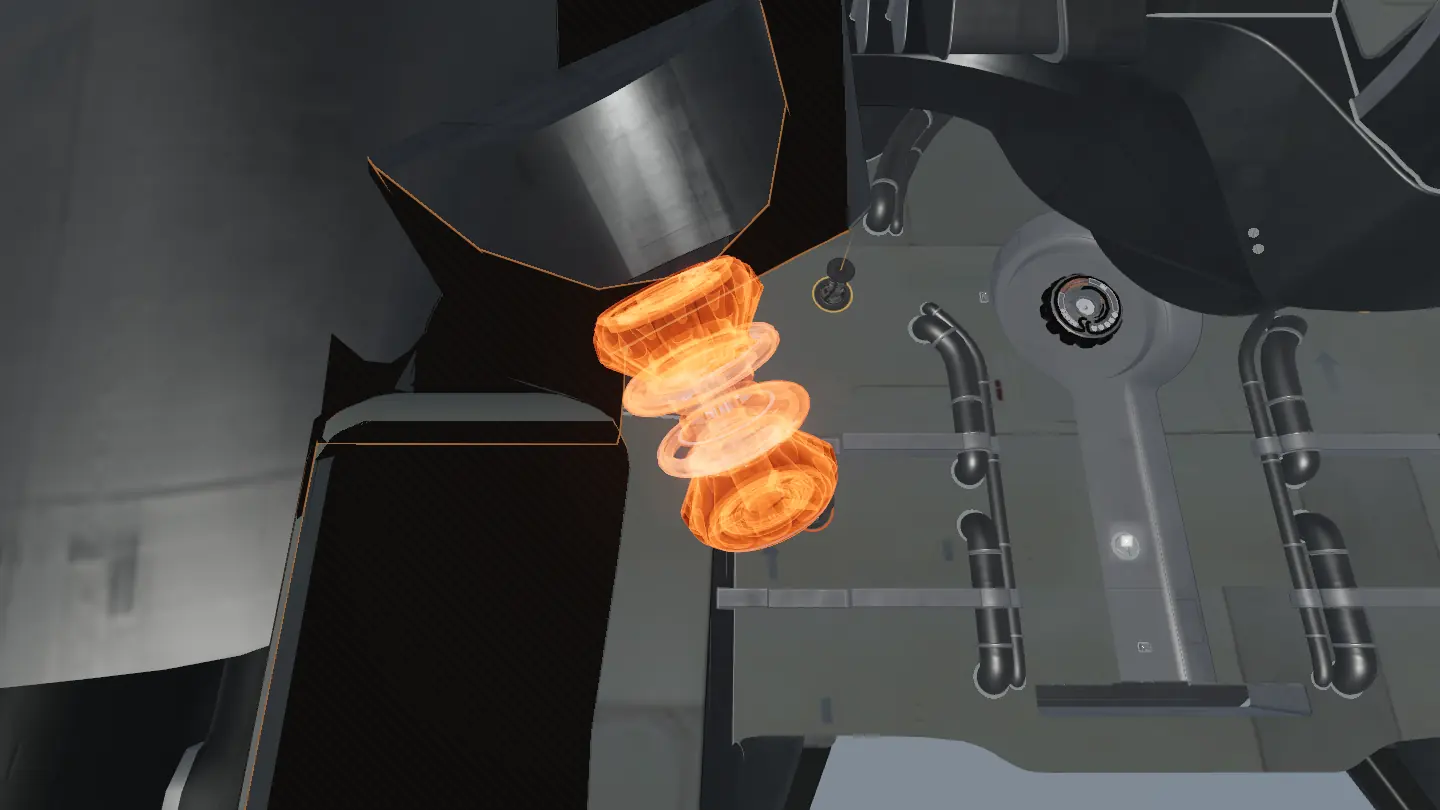
Core 2 of 5: Relay core, inner starboard
Shoot the 2 shields on its rotating ring (850 health each).
- Raiders needed: 1+ raiders
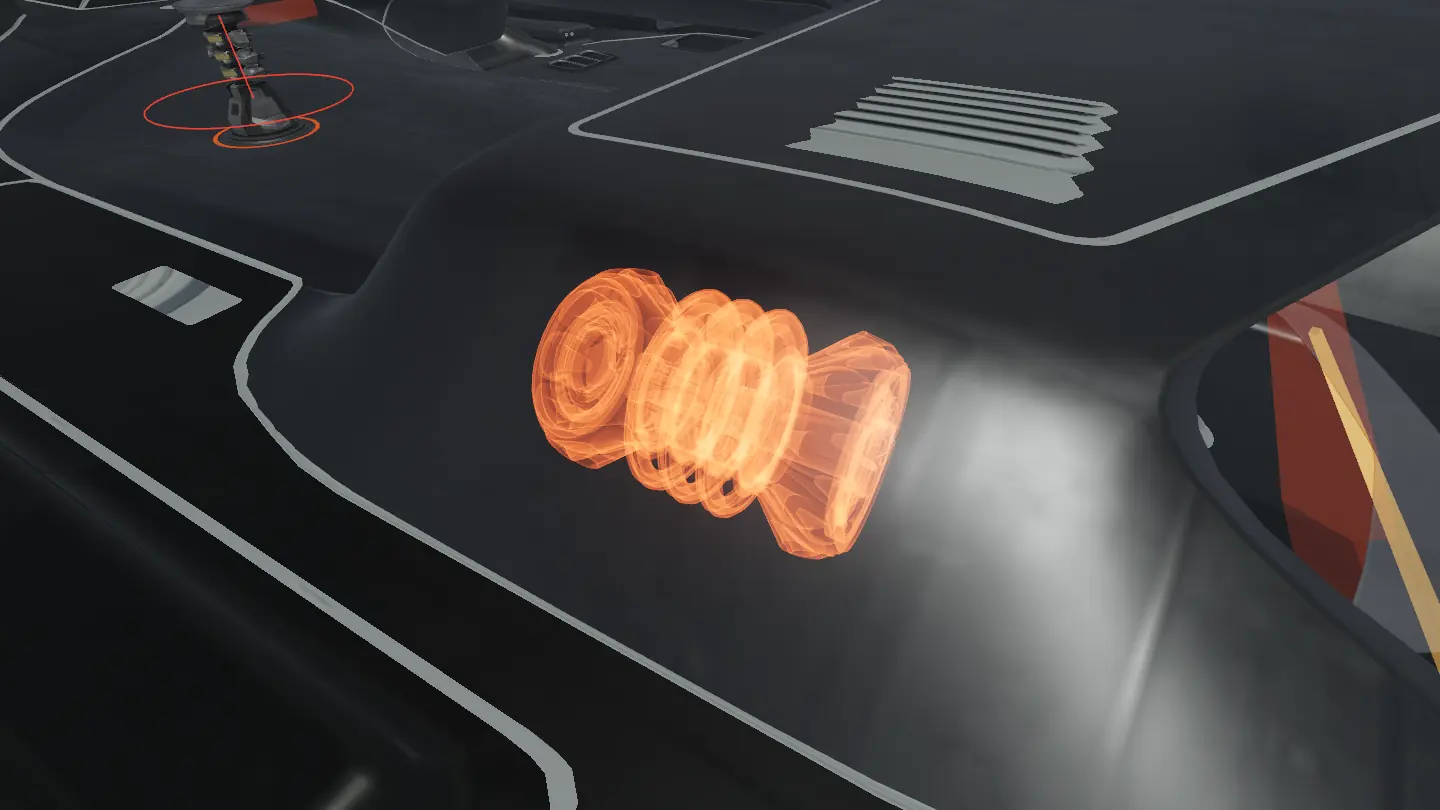
Part 3
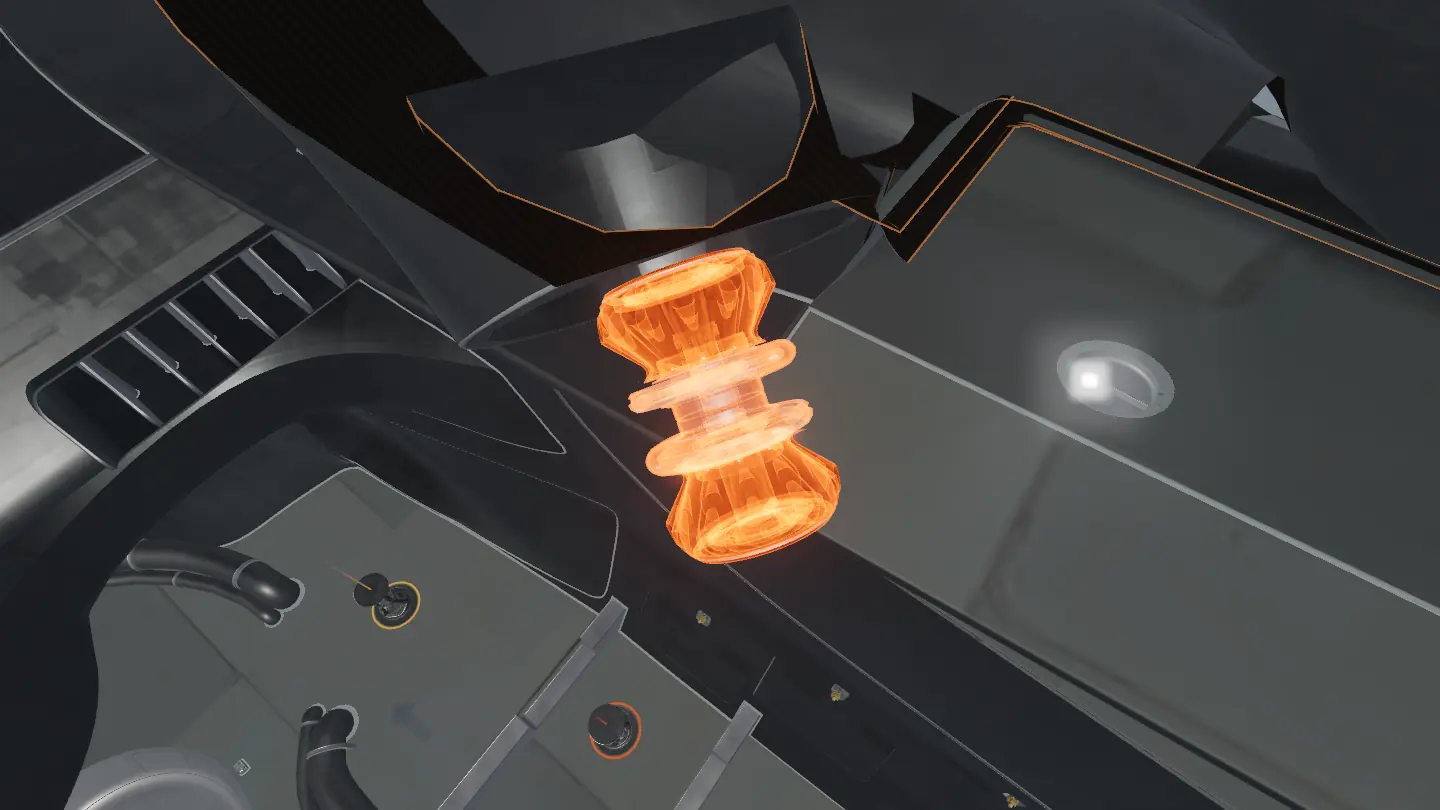
Core 3 of 5: Relay core, outer starboard
Shoot the 3 shields on its rotating ring (850 health each). You can also hold "Breach Power Core" on a shield; taking damage interrupts you. A heat vent beside it bursts into fire every 26 s until the core goes down.
- In-game prompt: Breach Power CoreHold 5 s
- Raiders needed: 1+ raiders
Part 4
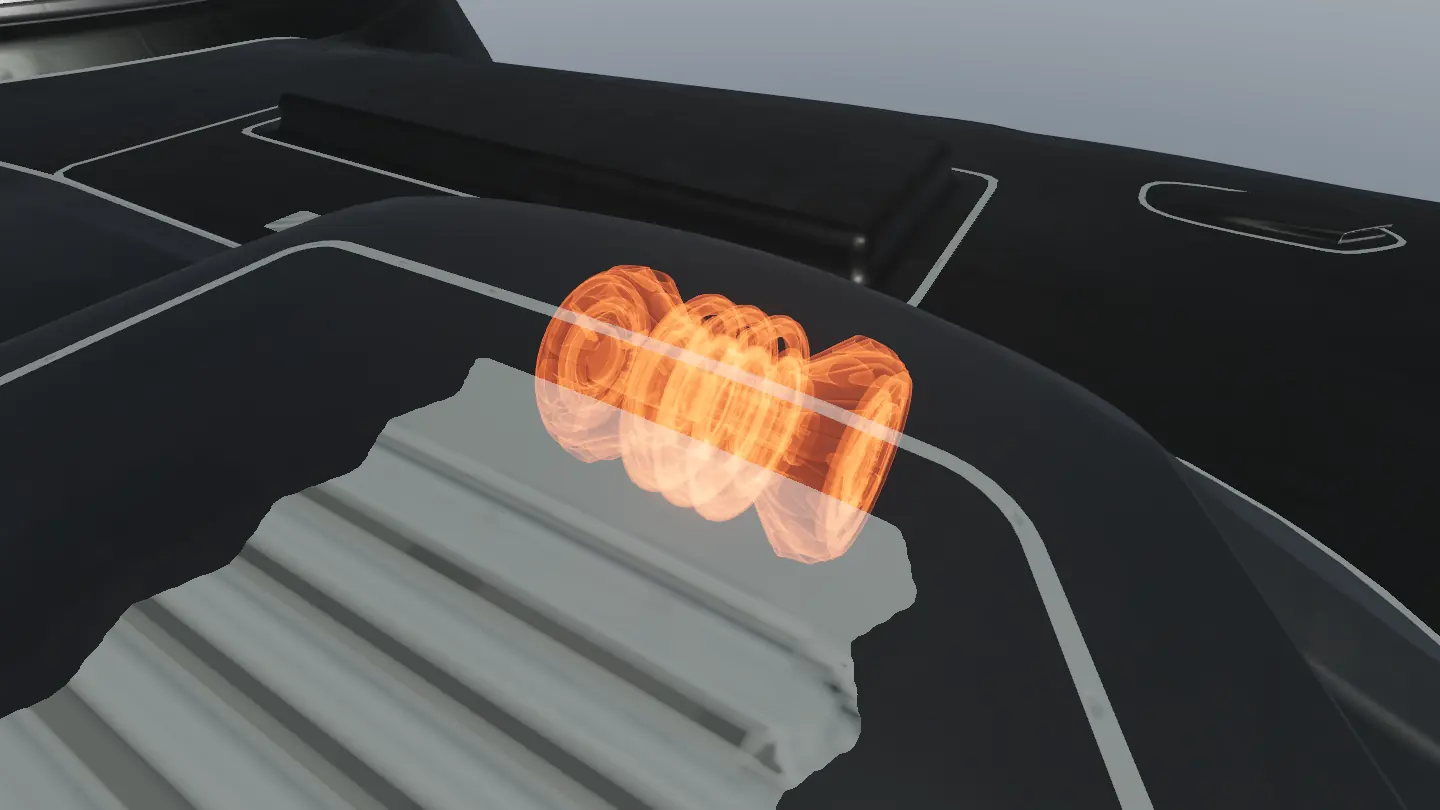
Core 4 of 5: Relay core, inner port
Shoot the 2 shields on its rotating ring (850 health each).
- Raiders needed: 1+ raiders
Part 5
Core 5 of 5: Relay core, outer port
Shoot the 3 shields on its rotating ring (850 health each). You can also hold "Breach Power Core" on a shield; taking damage interrupts you. A heat vent beside it bursts into fire every 26 s until the core goes down.
- In-game prompt: Breach Power CoreHold 5 s
- Raiders needed: 1+ raiders
Step 5Central core
4 parts
Part 1
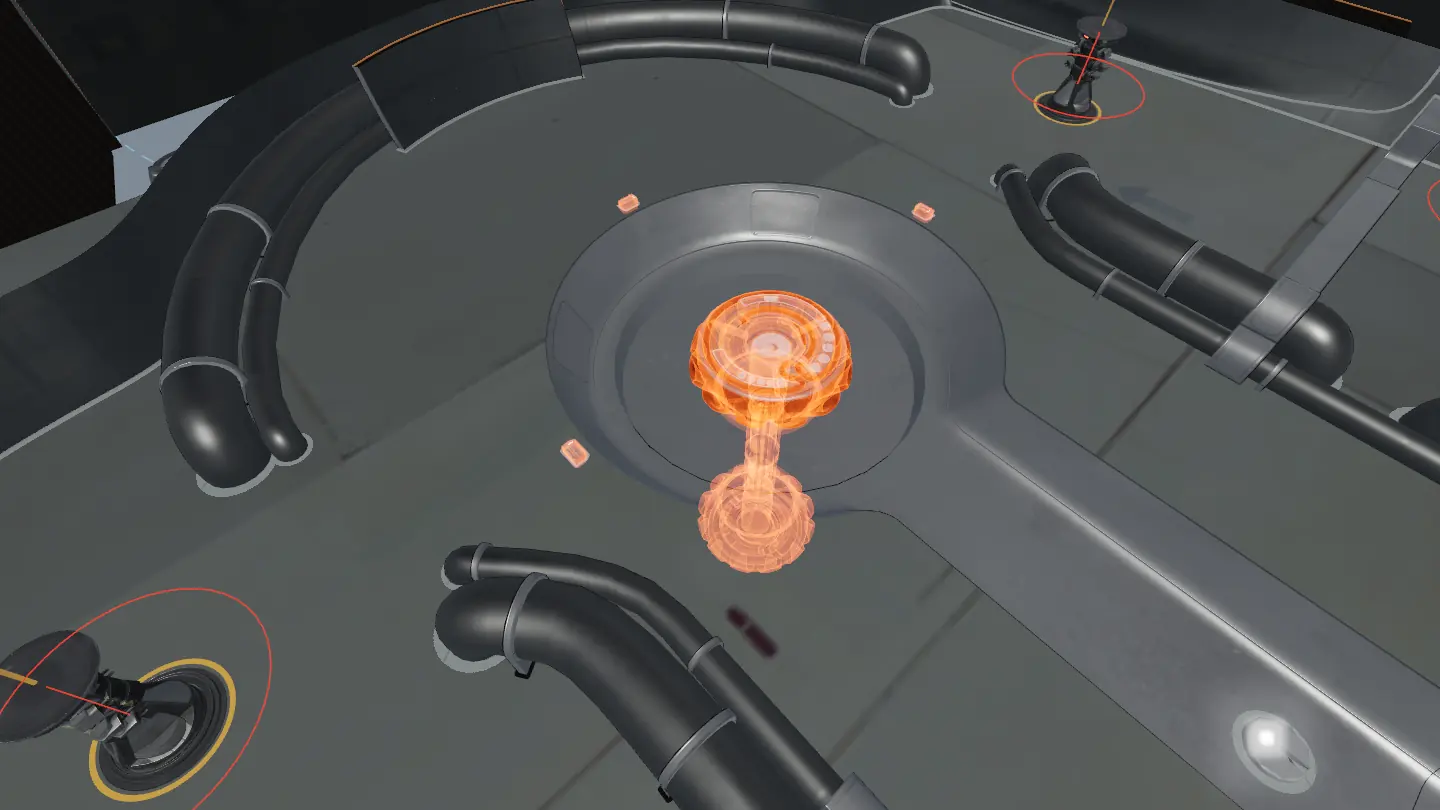
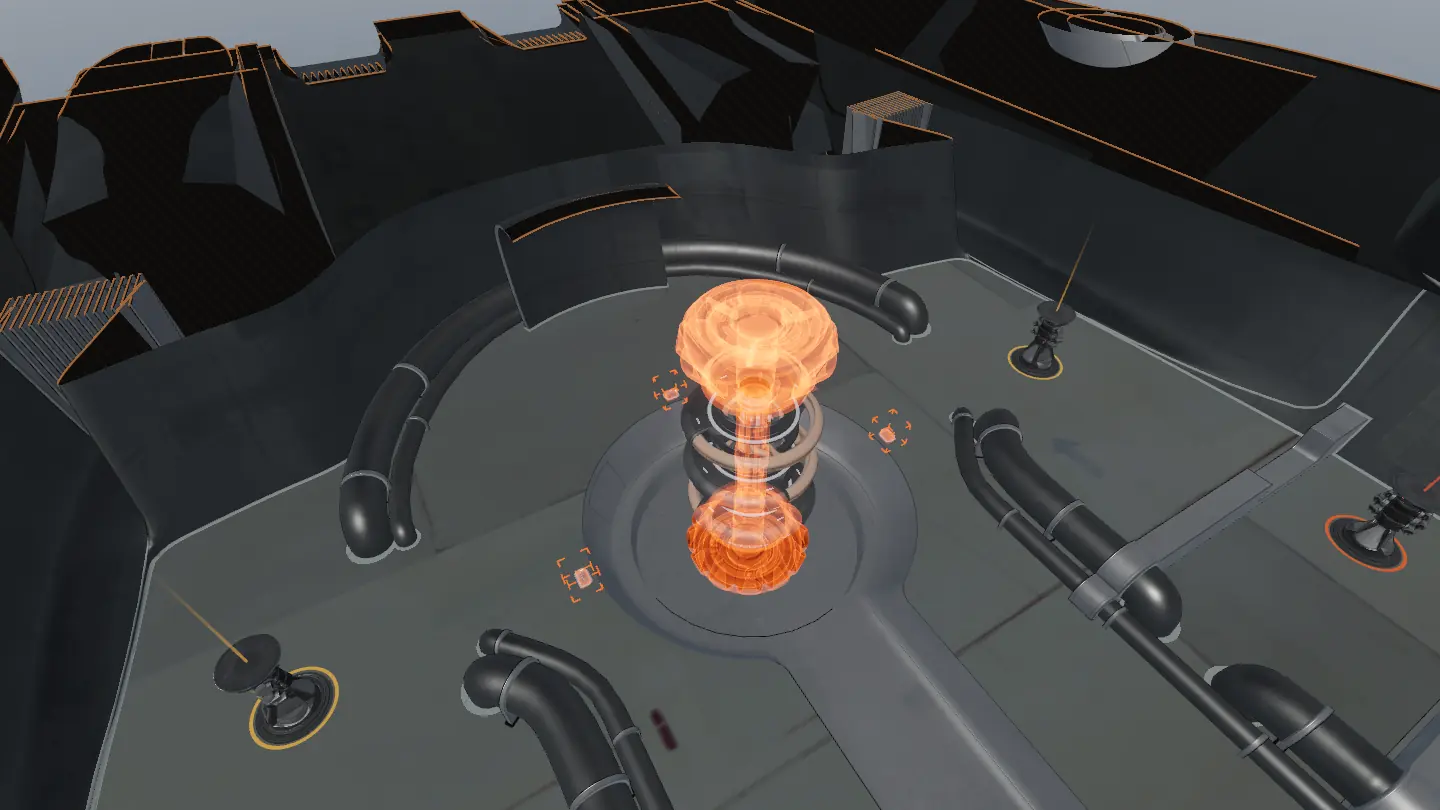
Clear the arena
The central core sits in a deep room, the Hydra Arena. Hydras rise out of the red hatches here: clear them and nearby ARC, then heal and reload before you start.
Part 2
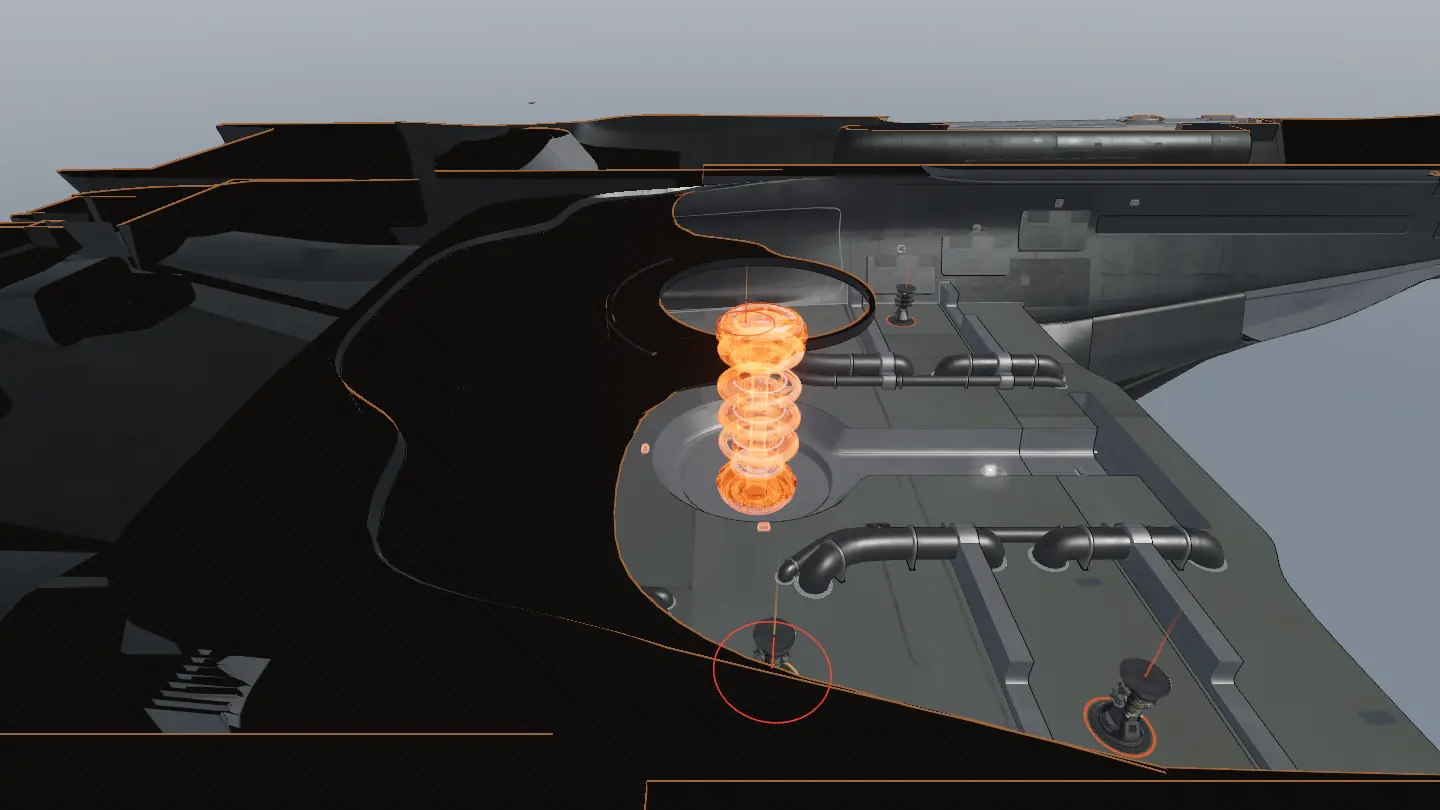
Raise the core
Three raiders hold "Move Up" on the three controls around the core at the same time. The core then rises for 20 s.
- In-game prompt: Move Up
- Raiders needed: 3 raiders
- Timing: Rise: 20 s
Part 3
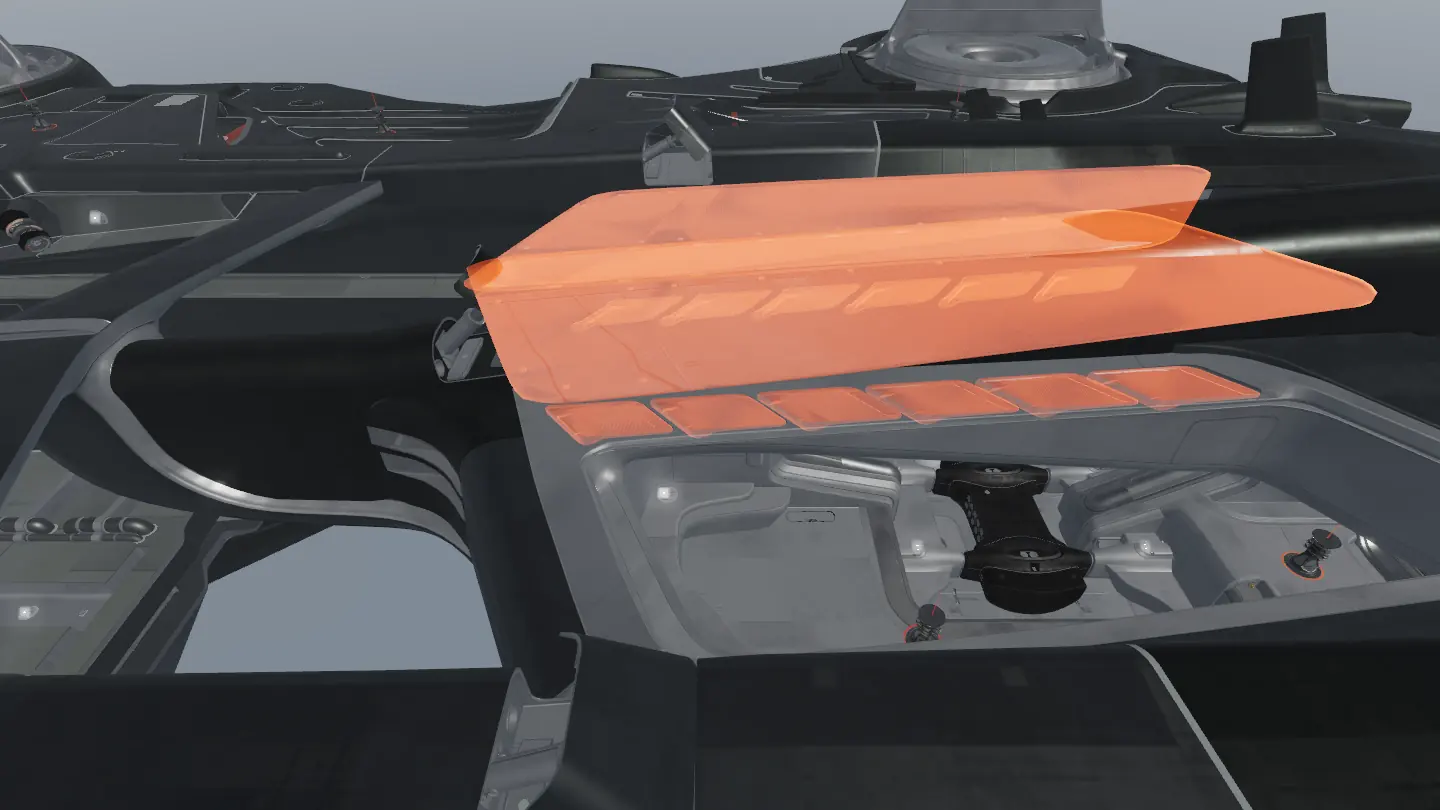
Break its shields
Shoot the central core's 4 shields. They cannot be breached by hand.
Part 4
The hull gate powers up
With all five power cores and the central core down, the hatch relay has its 6 inputs. It powers the hull gate, the roof over the cargo deck, and the gate powers the four cargo latches.
Step 6Into the cargo deck
4 parts
Part 1
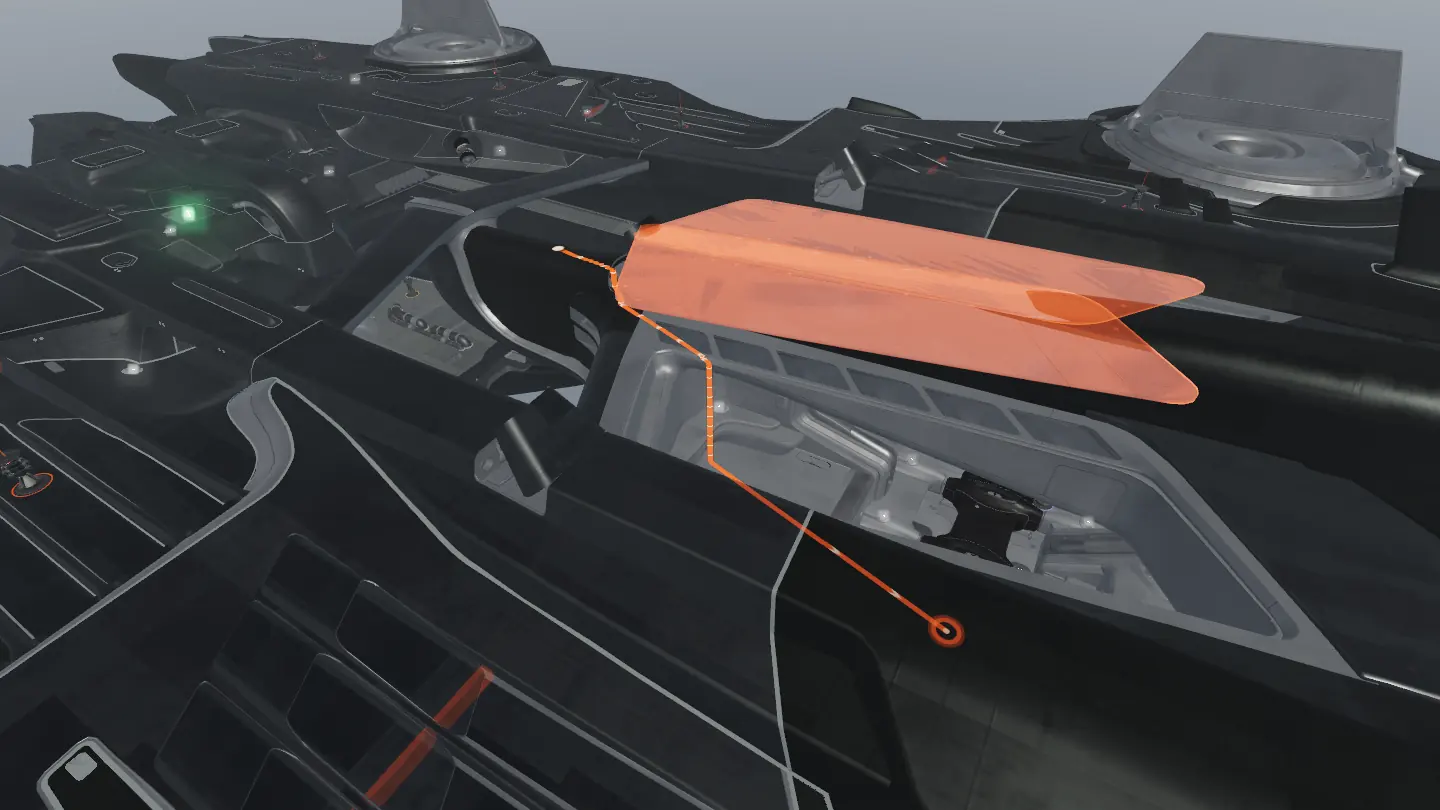
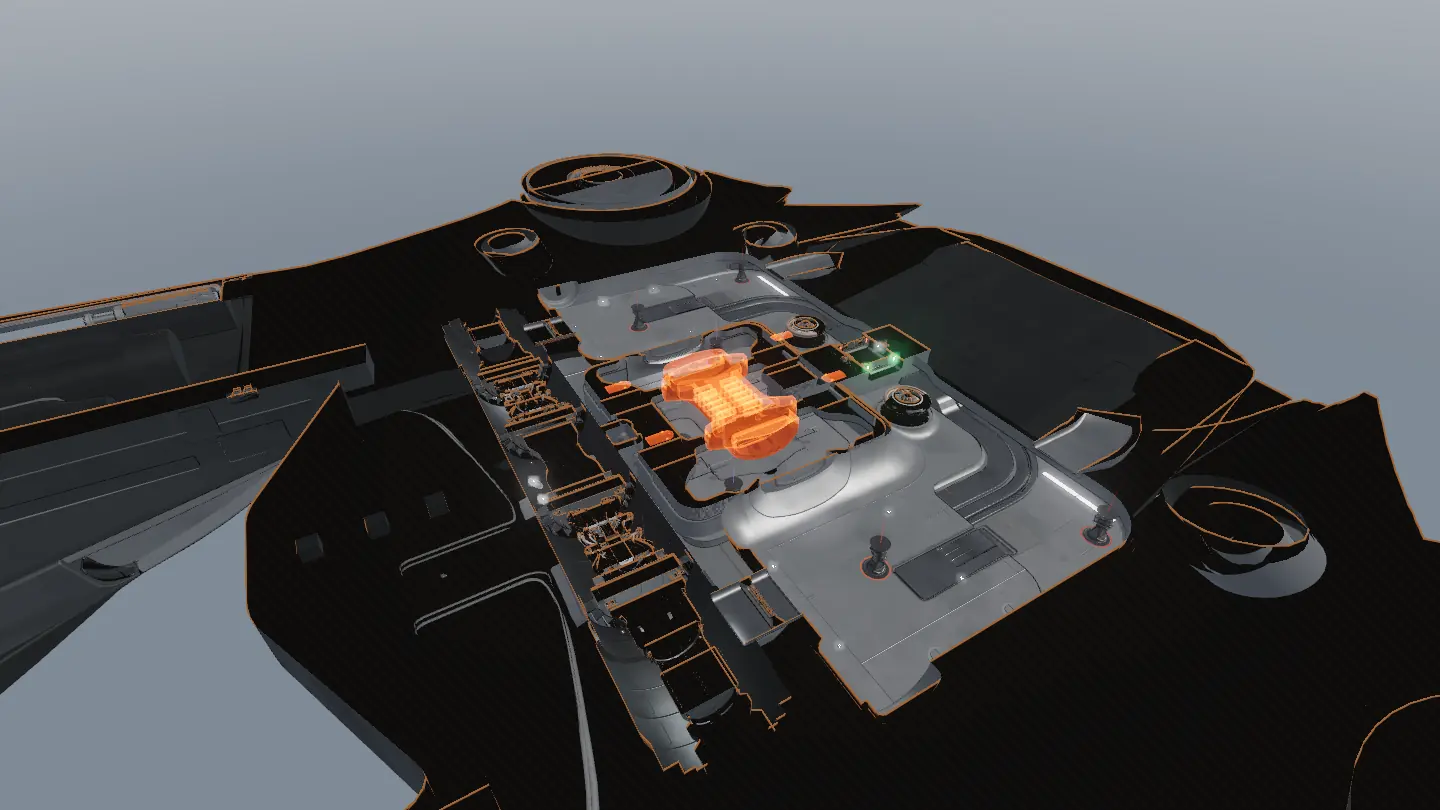
Drop through the hull gate
The hull gate is the roof of the cargo hall: two leaves in the top deck that slide open once it is powered. It is the only way in. Drop to the hall floor below: about 20 m in 2 drops.
Part 2
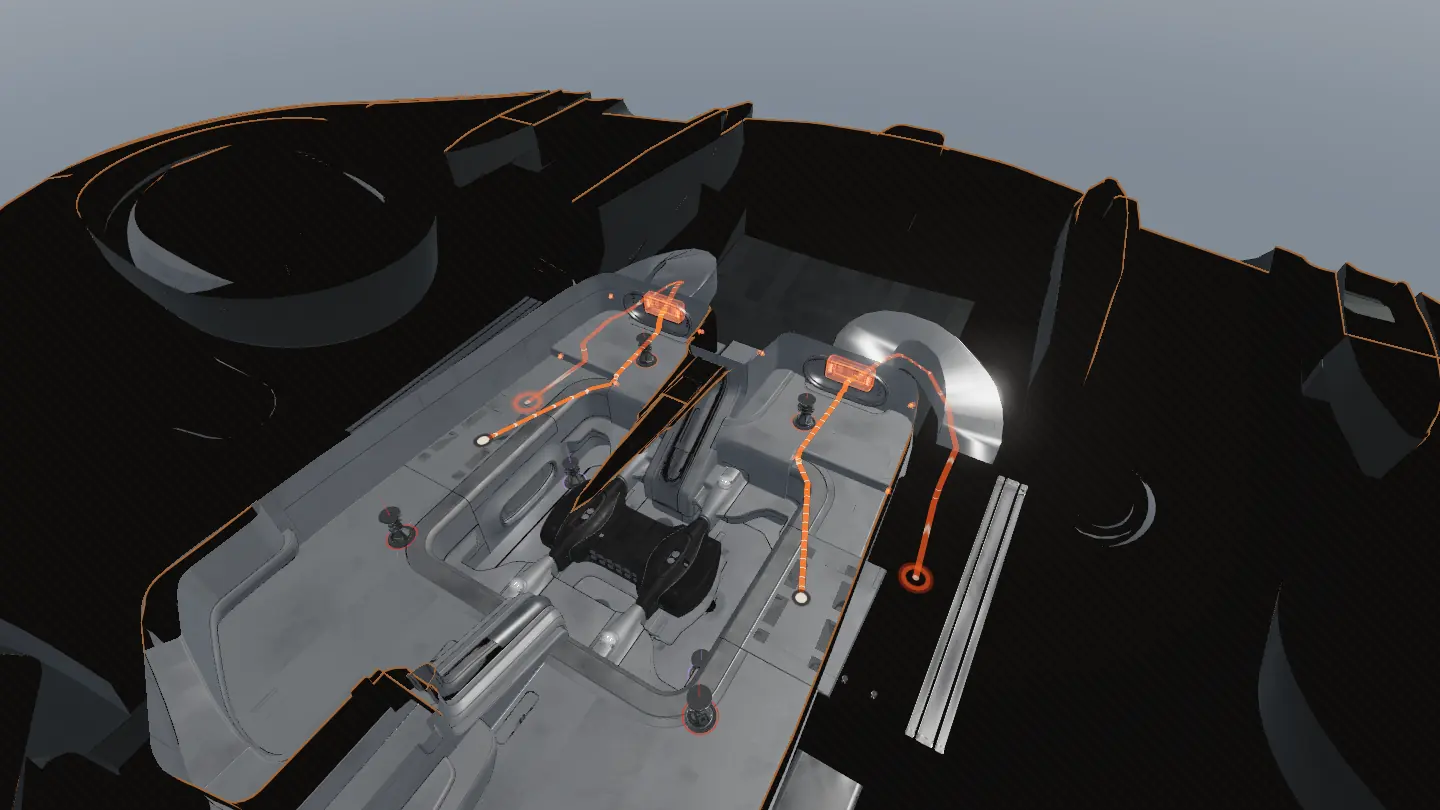
The cargo hall
The pod is sunk into the hall floor, its roof flush with the deck, with a cargo latch at each corner. Under it, the closed cargo gate holds it over a chute through the keel.
Part 3
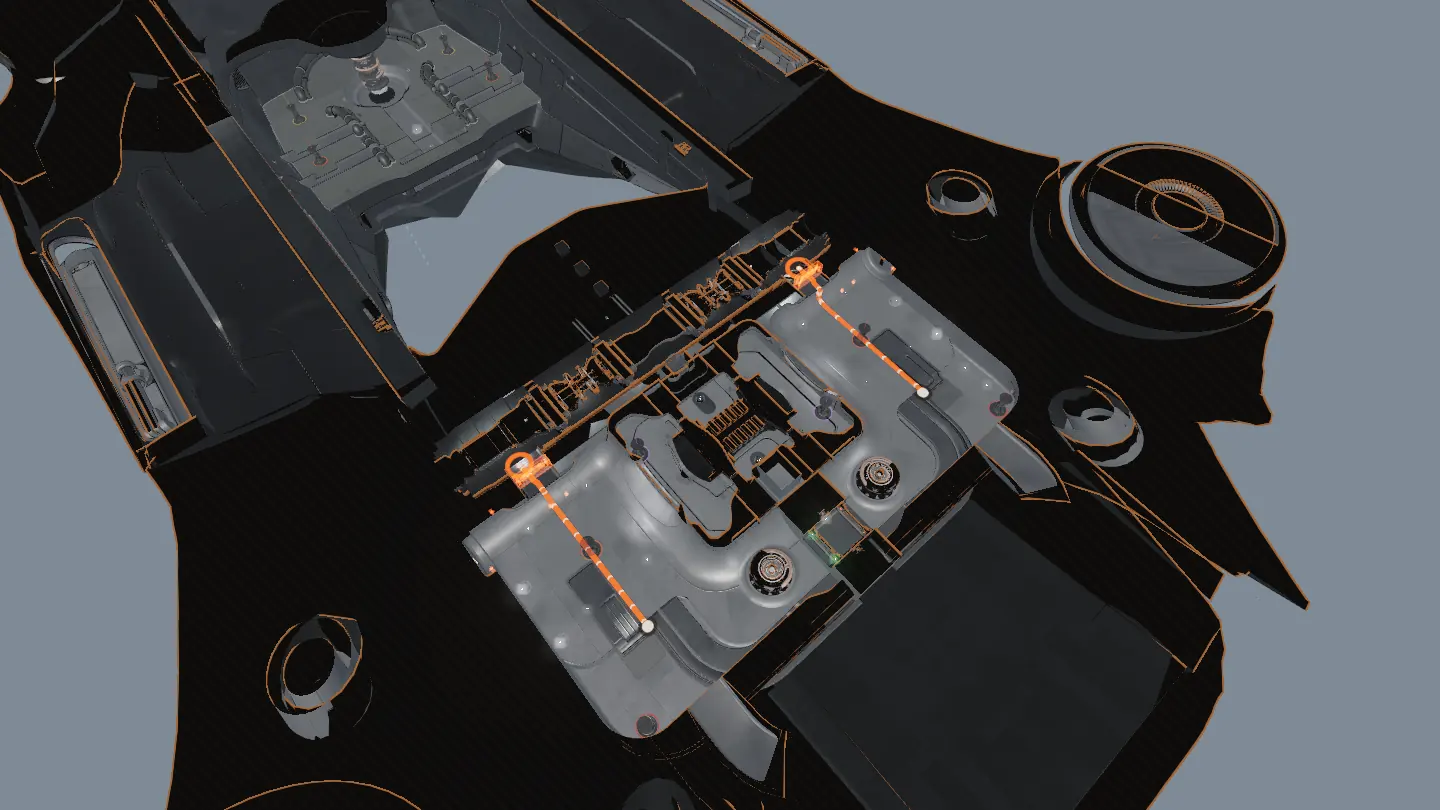
Into the side halls
At the fore end of the hall, shoot all 4 yellow weak points of a sealed door (200 health each). The doors open into the port and starboard side halls, where the fore latch cores stand.
Part 4
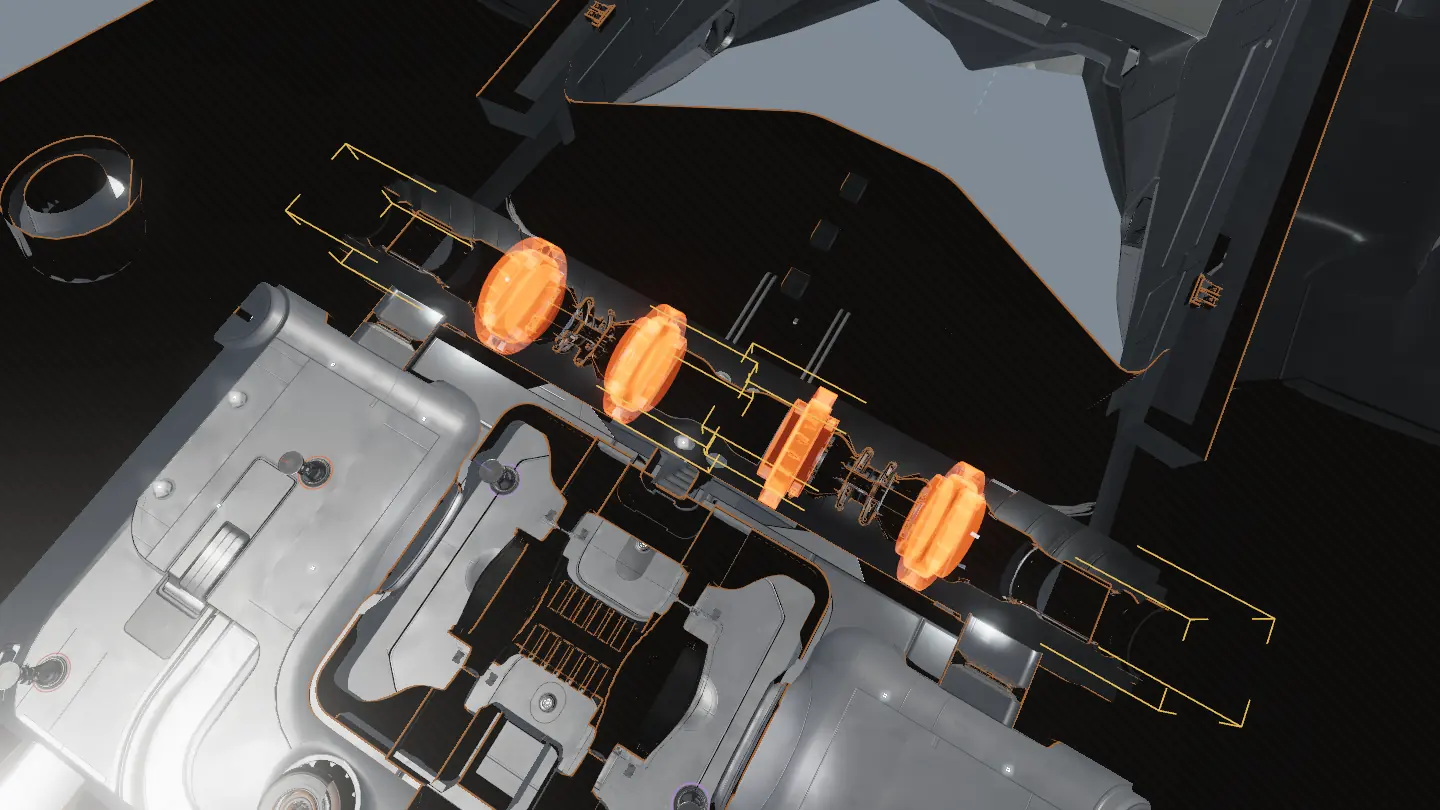
Into the fan tunnel
From a side hall, shoot open the sealed door aft (4 weak points) into the fan tunnel: a 10 m tube across the ship just aft of the pod, with four big turbine fans and the aft latch cores between them.
Tip: Every other door on the ship opens as you walk up to it.
Step 7Cargo latches
5 parts
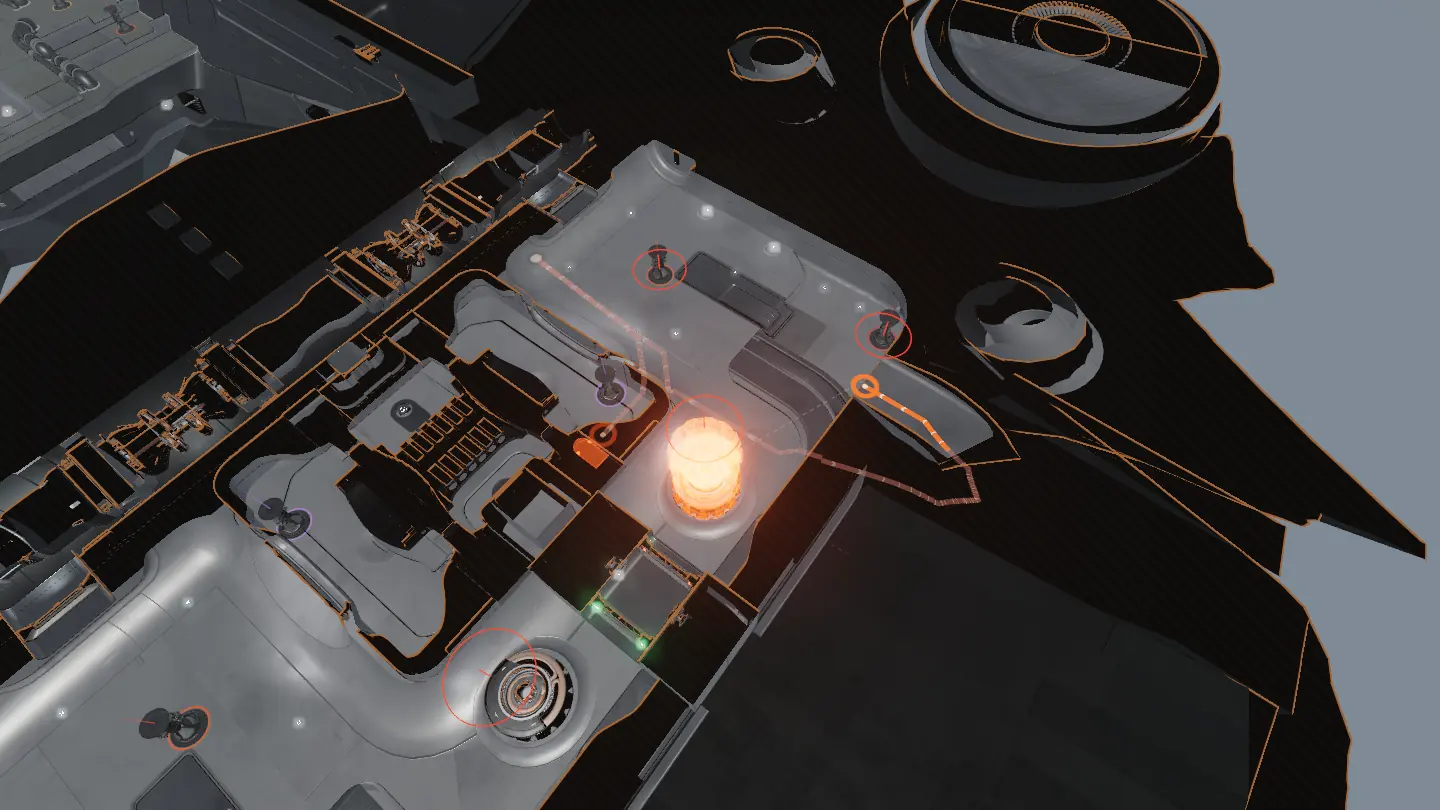
Part 1
Clear the acid
Two acid zones fill the middle of the fan tunnel and drain 0.5 health a second. Shoot the 2 weak points on each fan: a zone clears once both of its fans stop.
Part 2
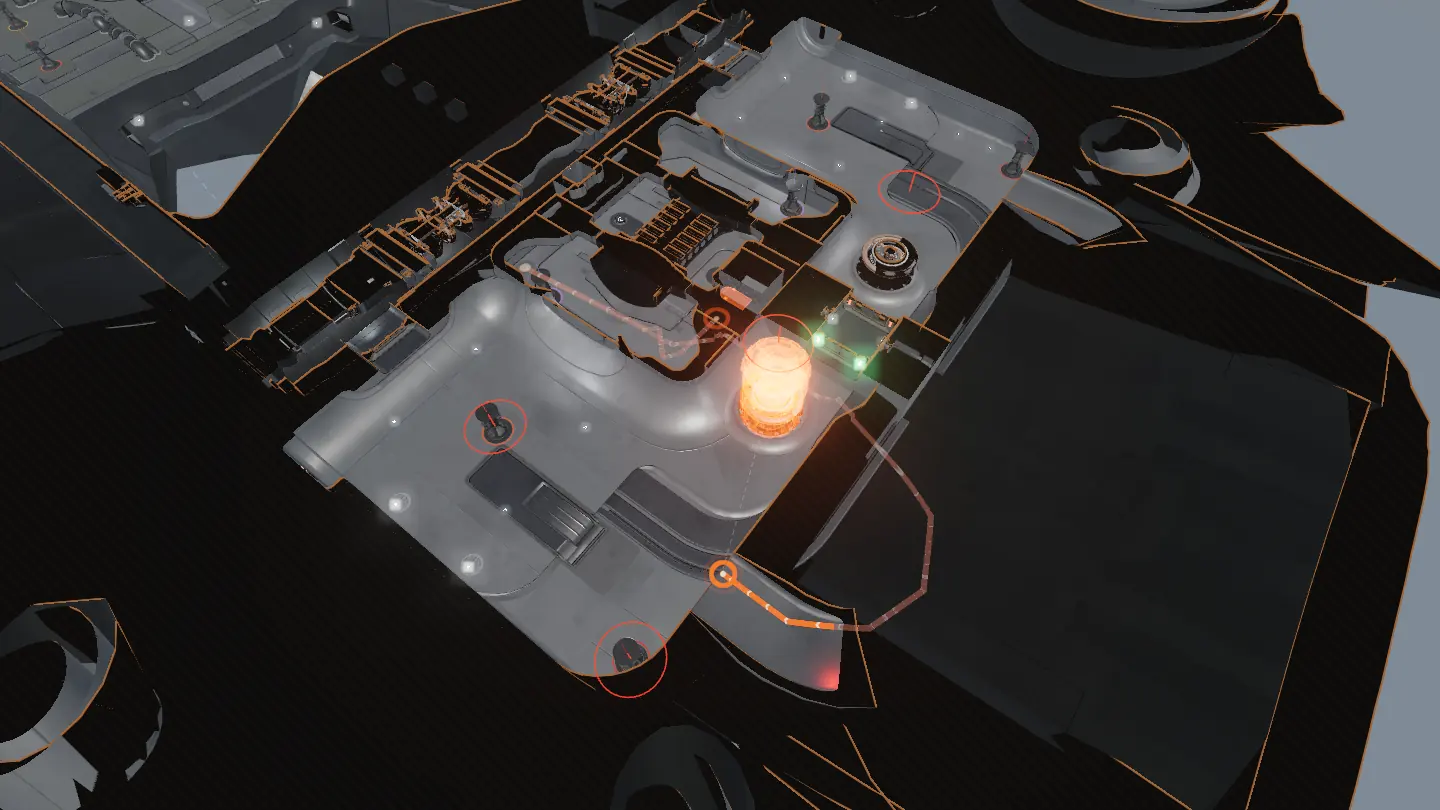
Latch 1 of 4: fore port
Its own core stands in the side hall beside it: shoot its 2 shields. Destroying it also opens a cargo side door into the pit beside the pod. Then two raiders hold "Breach" on the latch together for about 1.5 s.
- In-game prompt: Breach
- Raiders needed: 2 raiders
Part 3
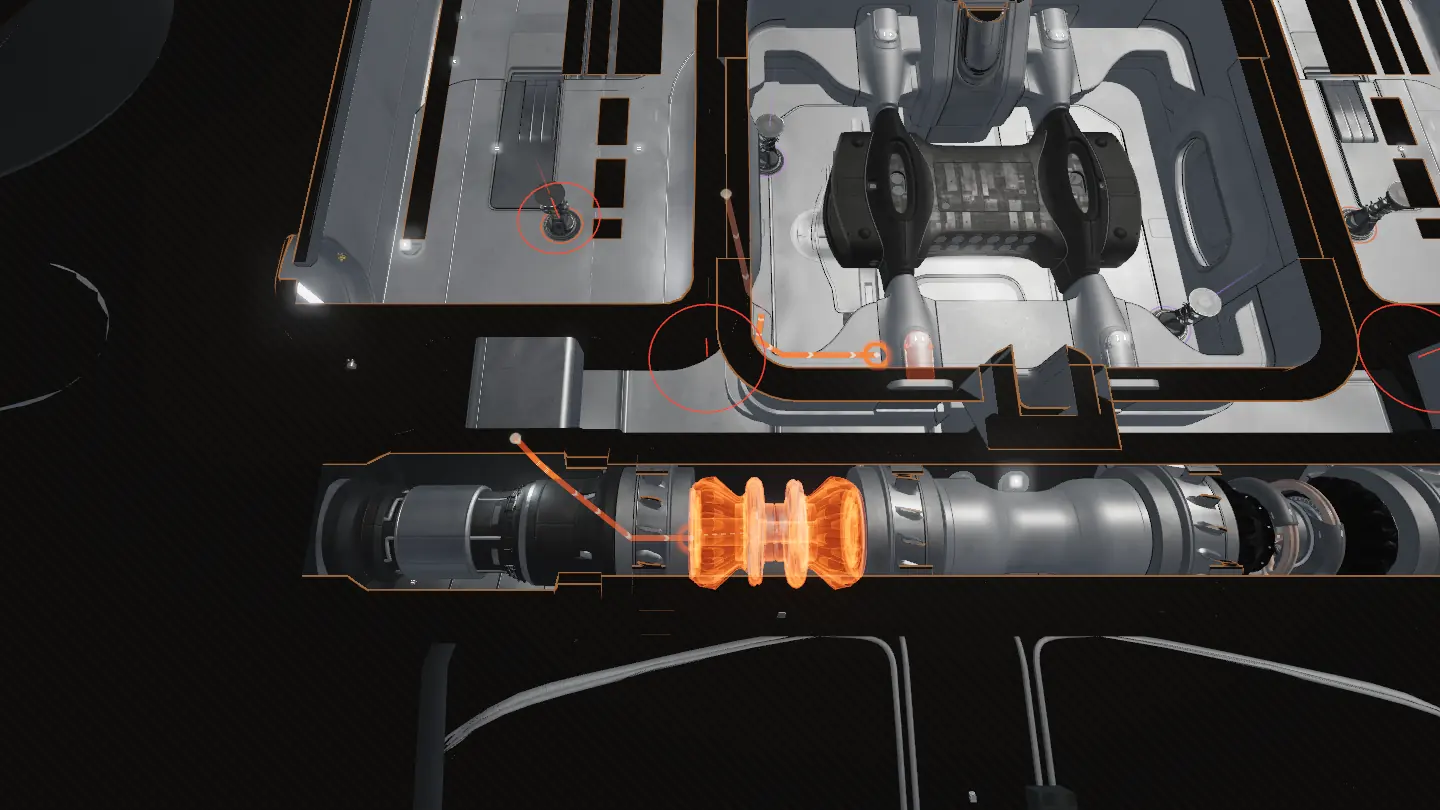
Latch 2 of 4: fore starboard
Its own core stands in the side hall beside it: shoot its 2 shields. Destroying it also opens a cargo side door into the pit beside the pod. Then two raiders hold "Breach" on the latch together for about 1.5 s.
- In-game prompt: Breach
- Raiders needed: 2 raiders
Part 4
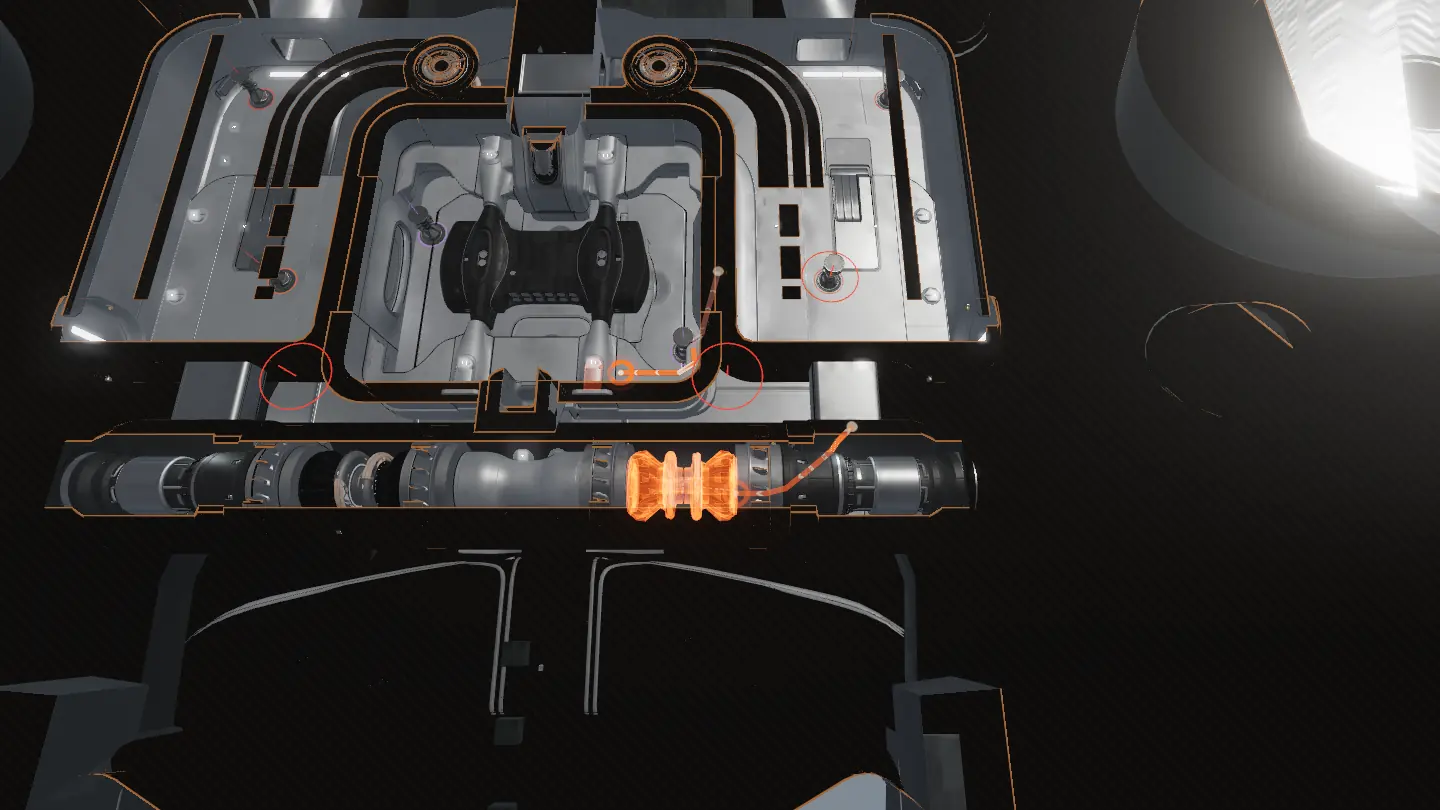
Latch 3 of 4: aft port
Its own core stands in the fan tunnel, between two fans: shoot its 2 shields. Then two raiders hold "Breach" on the latch together for about 1.5 s.
- In-game prompt: Breach
- Raiders needed: 2 raiders
Part 5
Latch 4 of 4: aft starboard
Its own core stands in the fan tunnel, between two fans: shoot its 2 shields. Then two raiders hold "Breach" on the latch together for about 1.5 s.
- In-game prompt: Breach
- Raiders needed: 2 raiders
Step 8Cargo gate and ratchet
3 parts
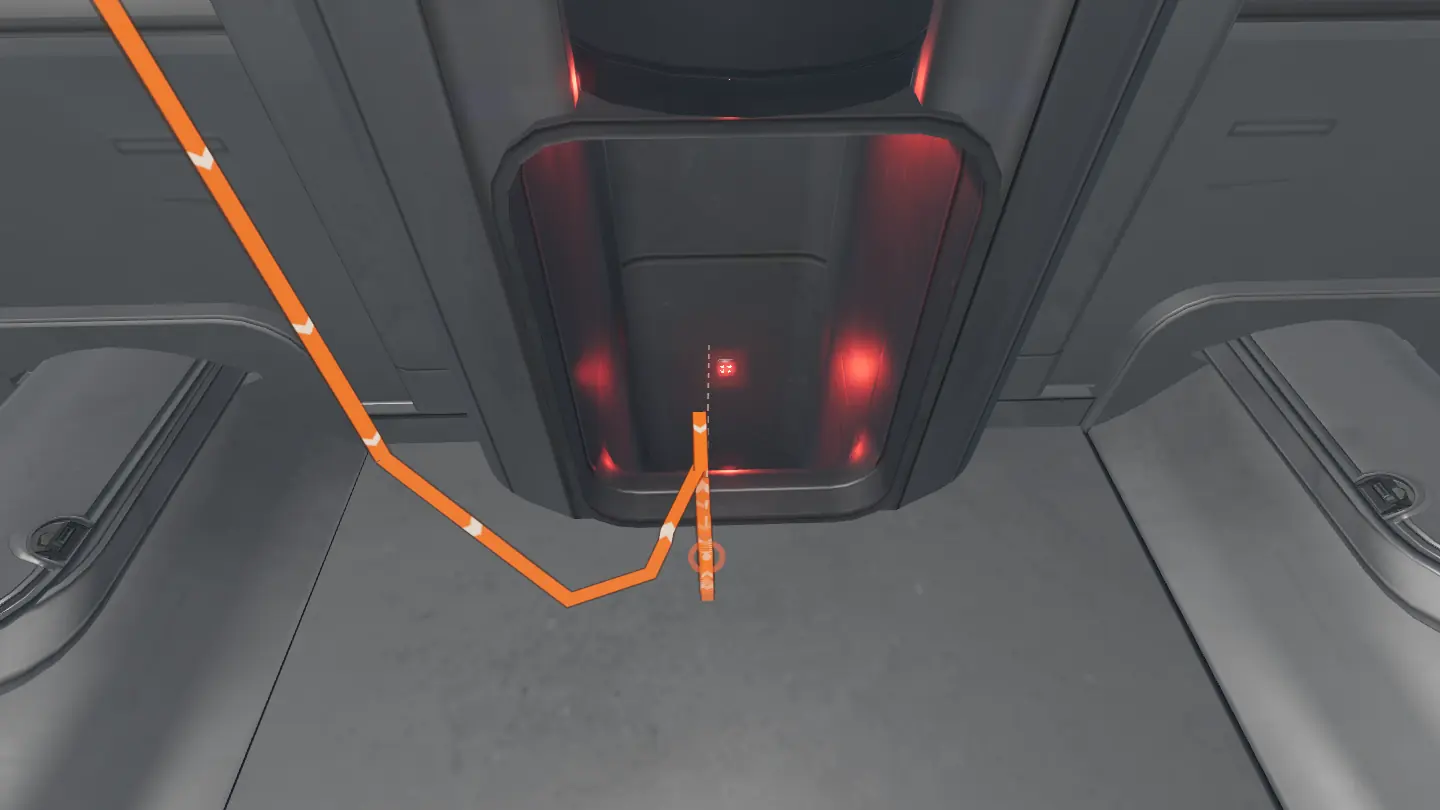
Part 1
Take the red-lit shaft
At the aft end of the hall floor, between the two aft latches, a hatch opens onto a shaft lit by six red lamps. Drop down it: at the bottom a door leads to the cargo gate core's room, low in the hull.
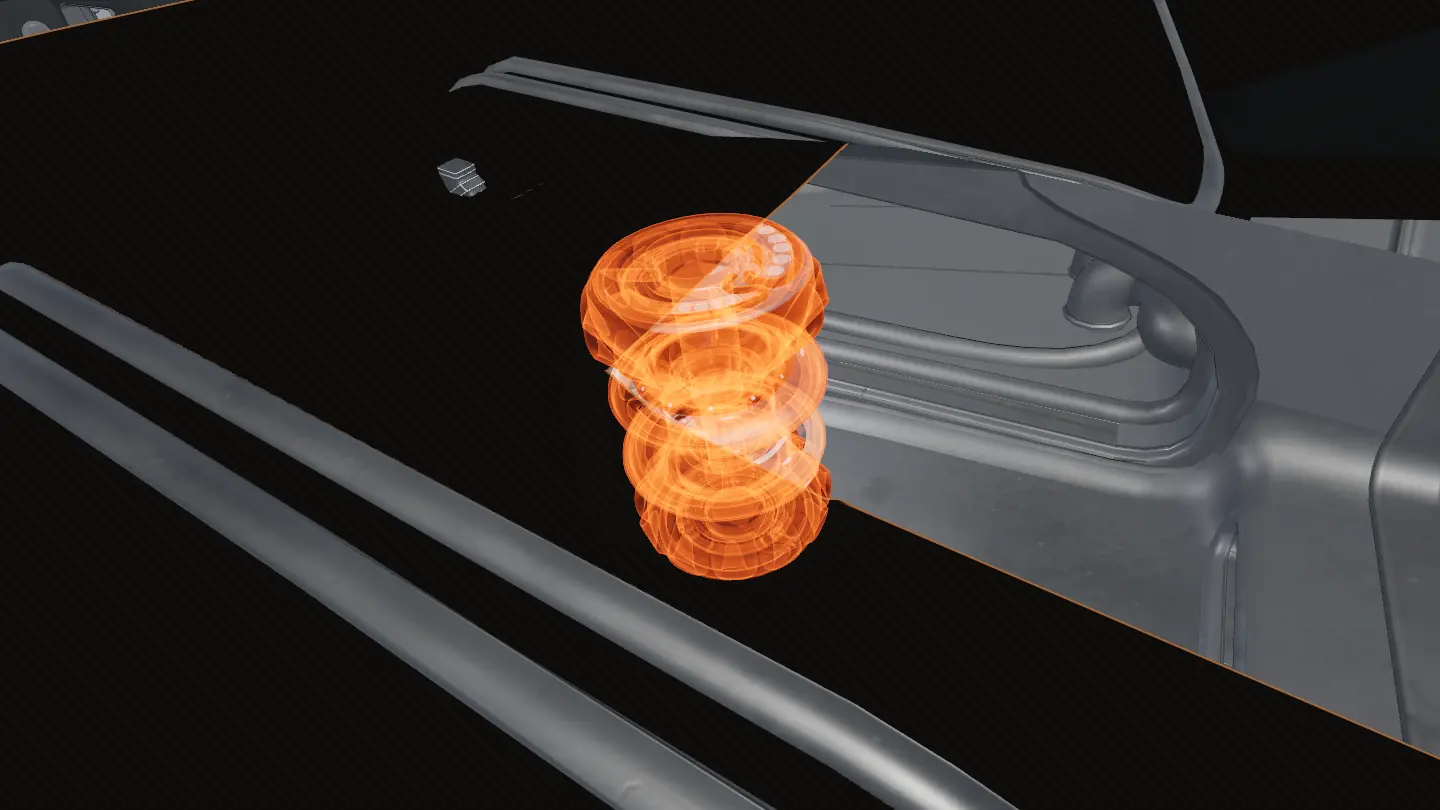
Part 2
Power the ratchet
Shoot the 2 shields of the cargo gate core on its pedestal. It powers the cargo gate under the pod, and the gate powers the ratchet.
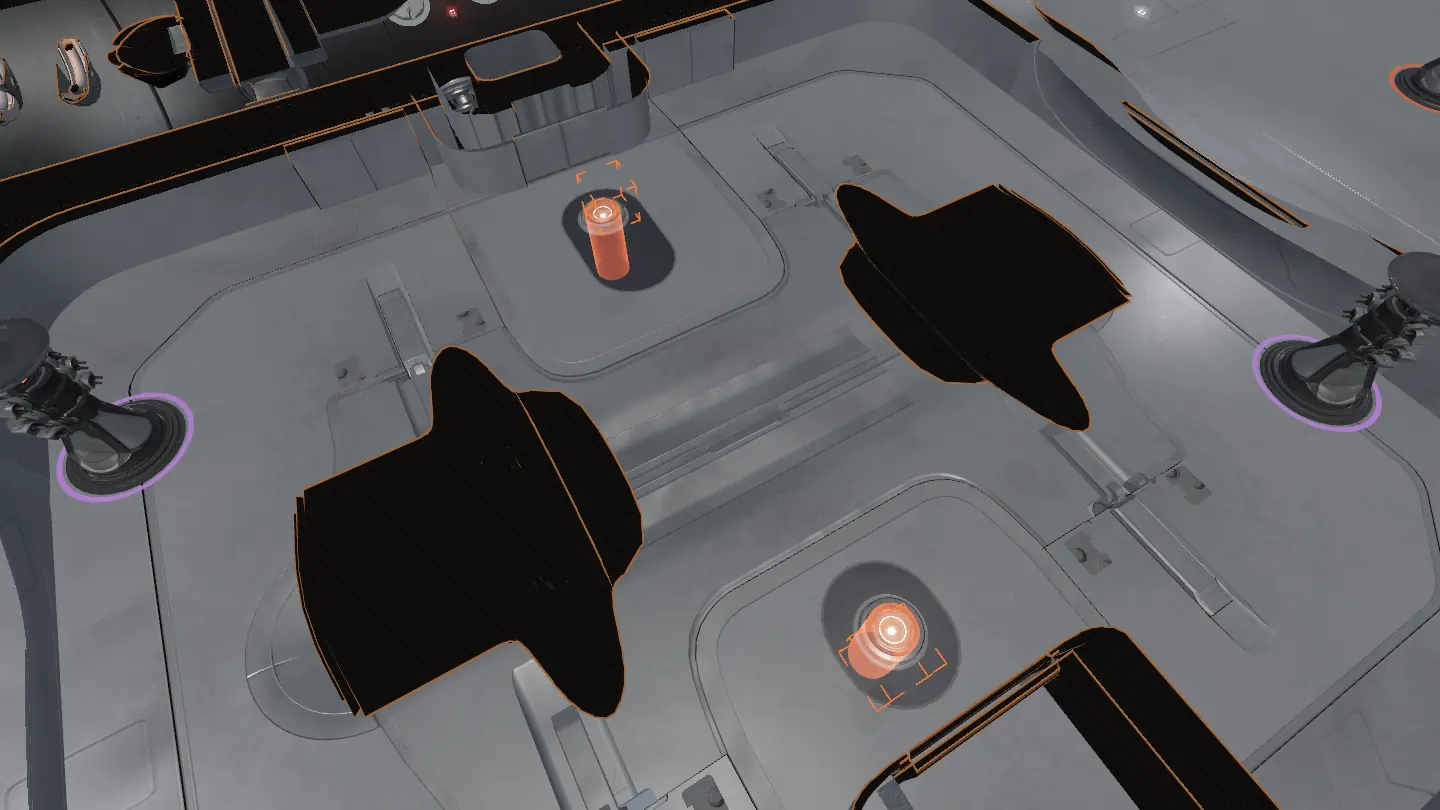
Part 3
Work the ratchet
Two raiders work the two ratchet handles together, 4 times. The handles sit low at either end of the pod, 16 m apart.
- Raiders needed: 2 raiders
- Timing: 4 pulls
Step 9Release and loot
3 parts
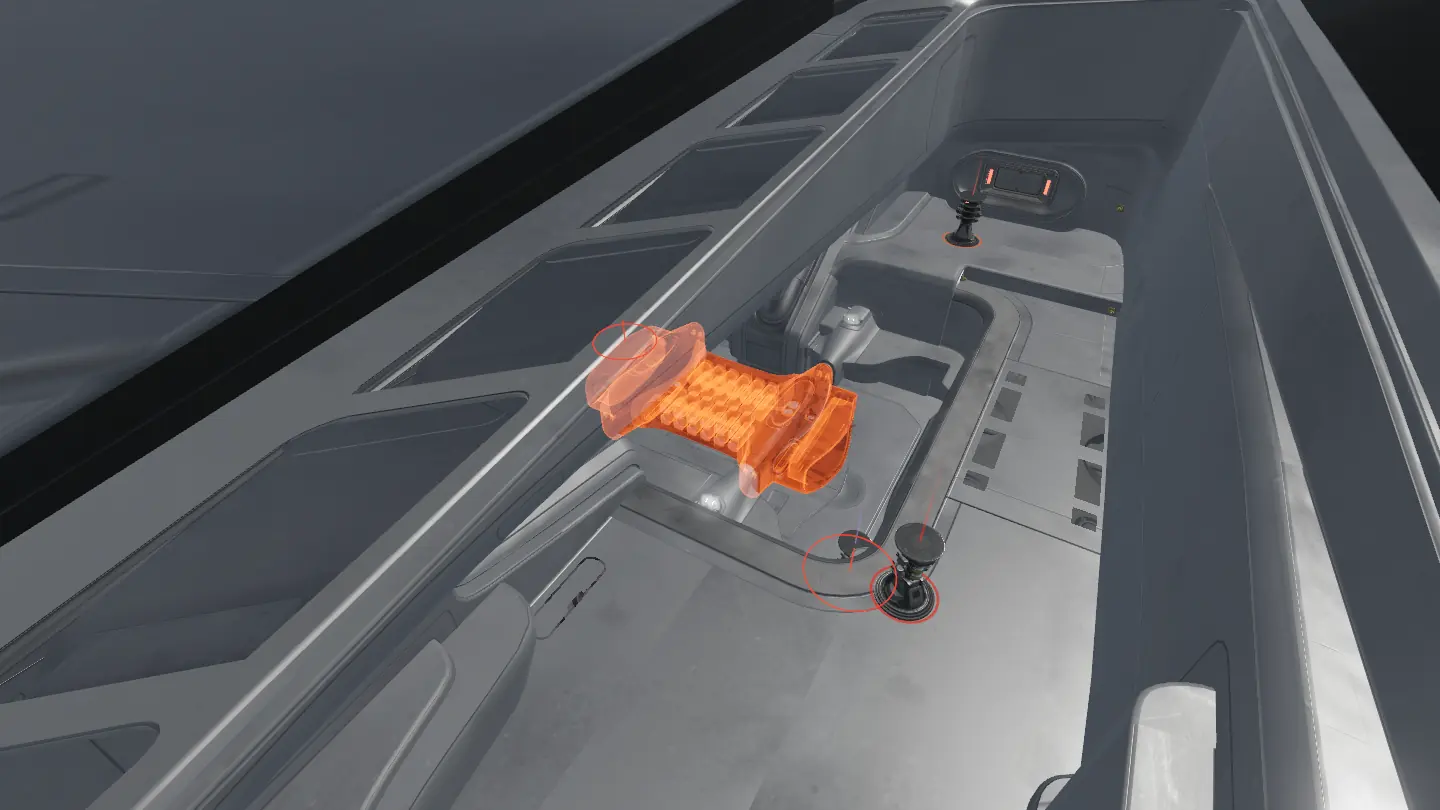
Part 1
The pod drops
2 s after the last latch opens, a 10 s release starts and the pod falls on its thrusters. Standing beside it as it falls kills you: jump on top of it to ride it down.
- Timing: 2 s, then 10 s
Part 2
Loot the pod
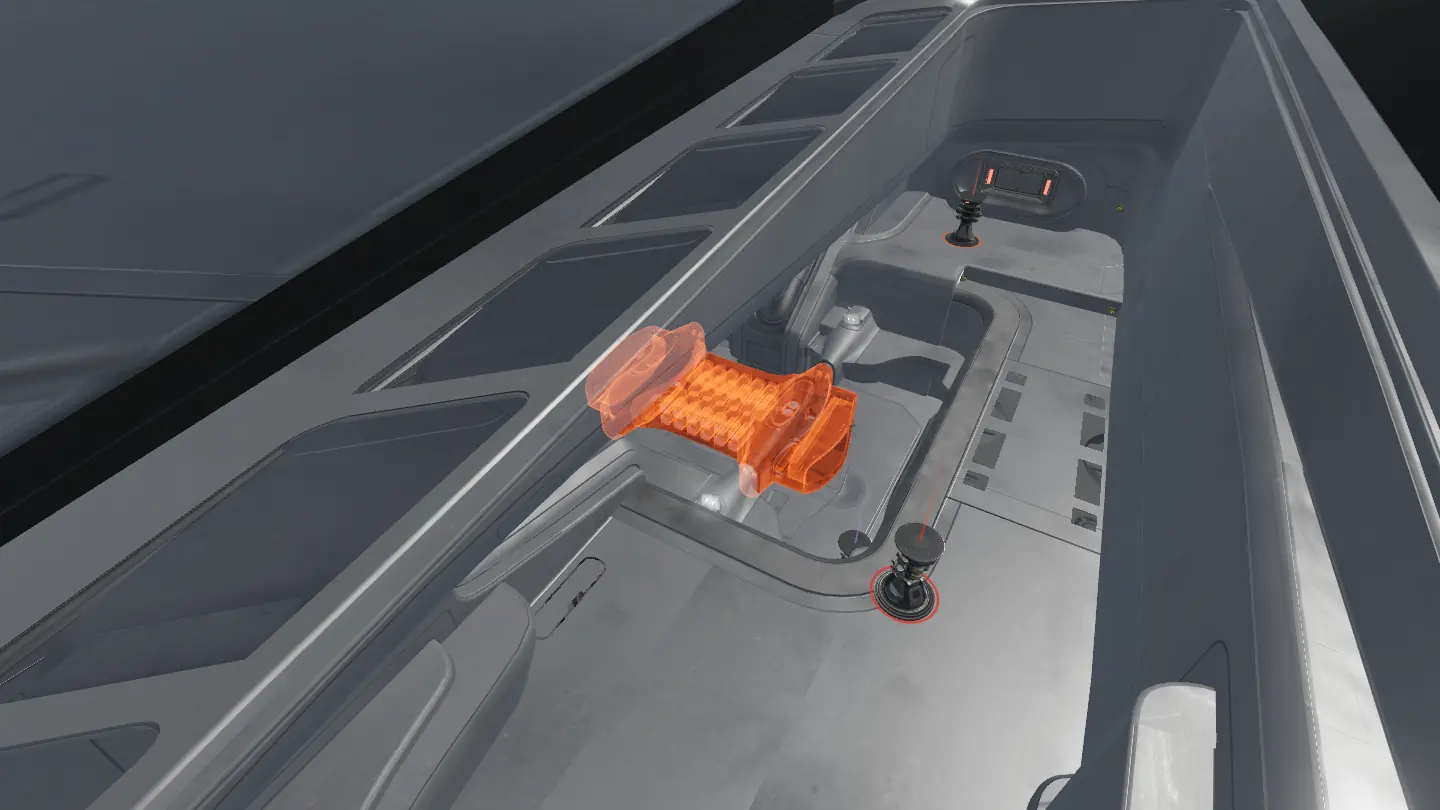
Open its 24 compartments, 12 per side, while two ARC waves land next to it.
- Timing: 0.8 s per compartment
Part 3
Extract
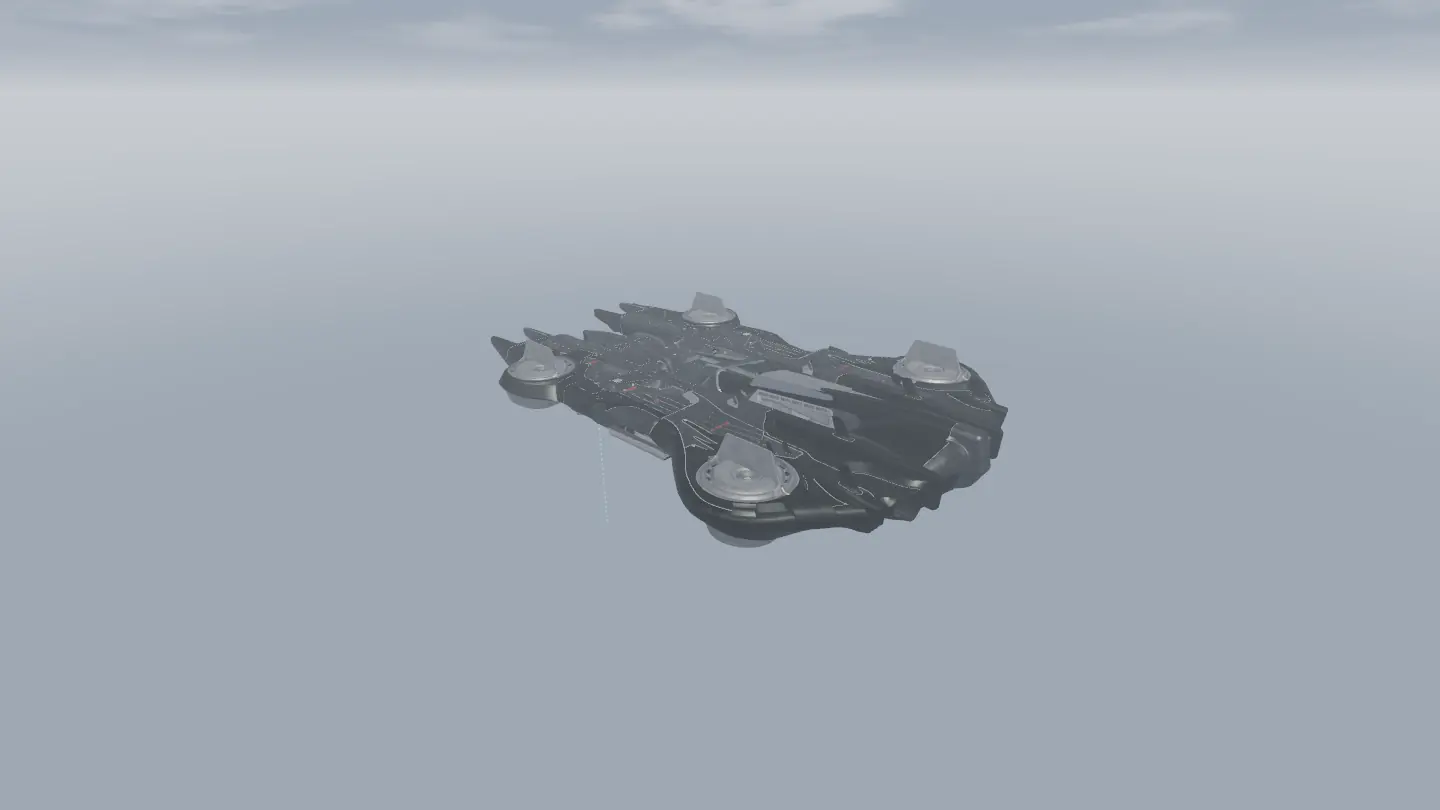
There are no Raider Hatches in a Frigate raid. Leave through the map's normal extraction points before the raid ends, and move Amplification Modules to your safe pocket.
- Timing: Raid ends at 36 min